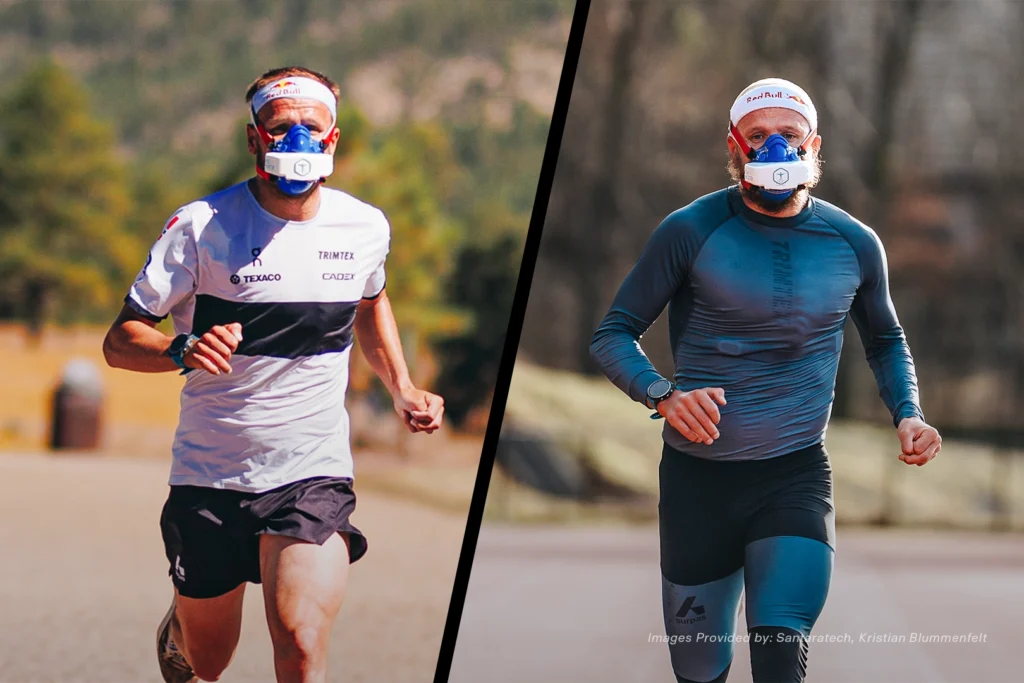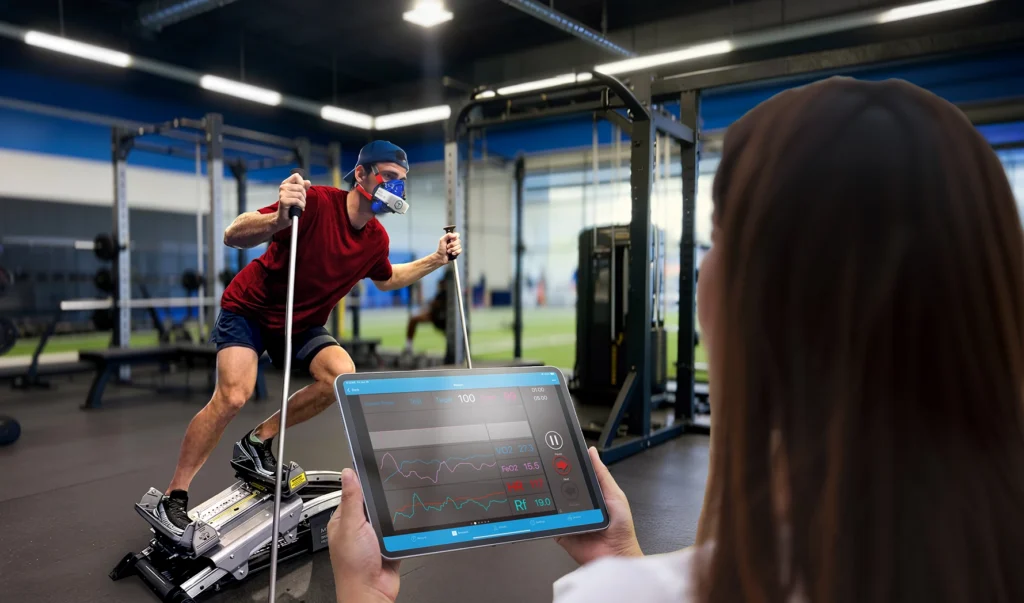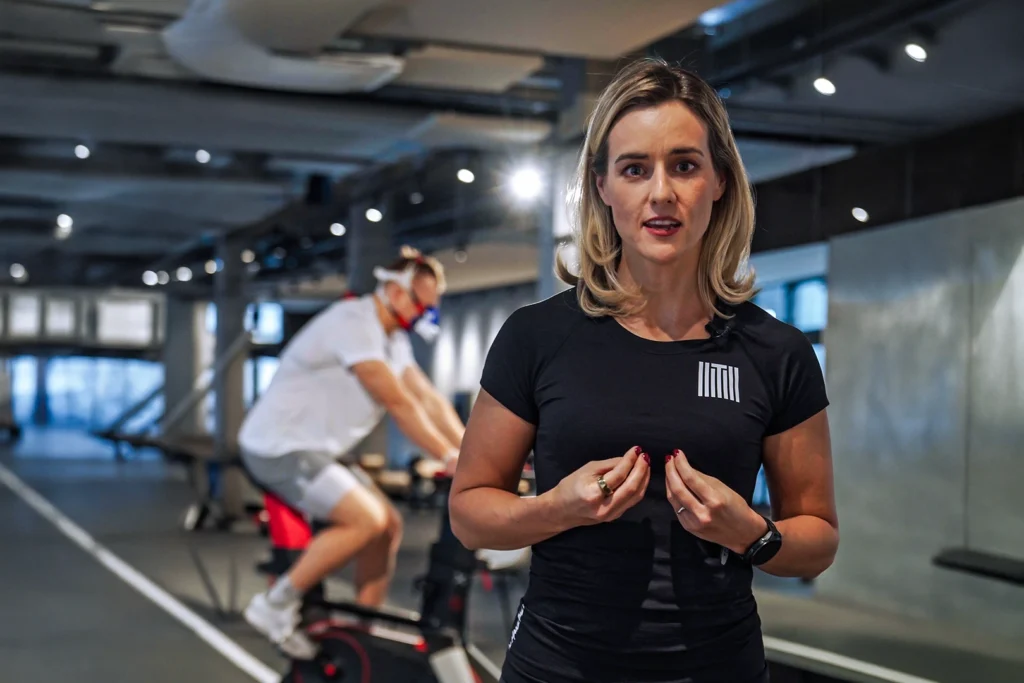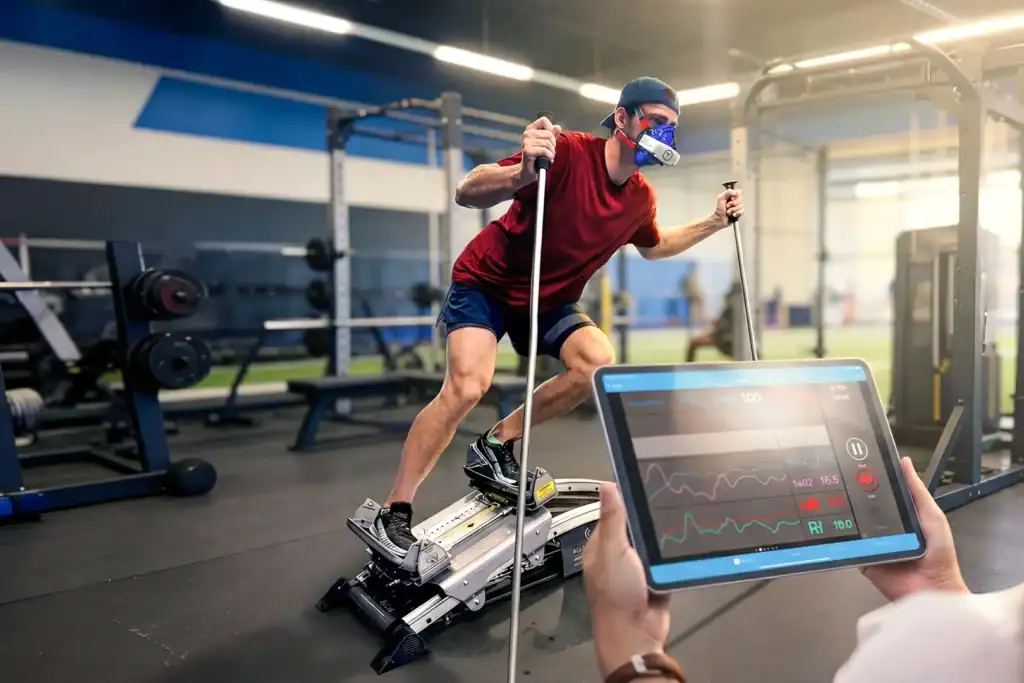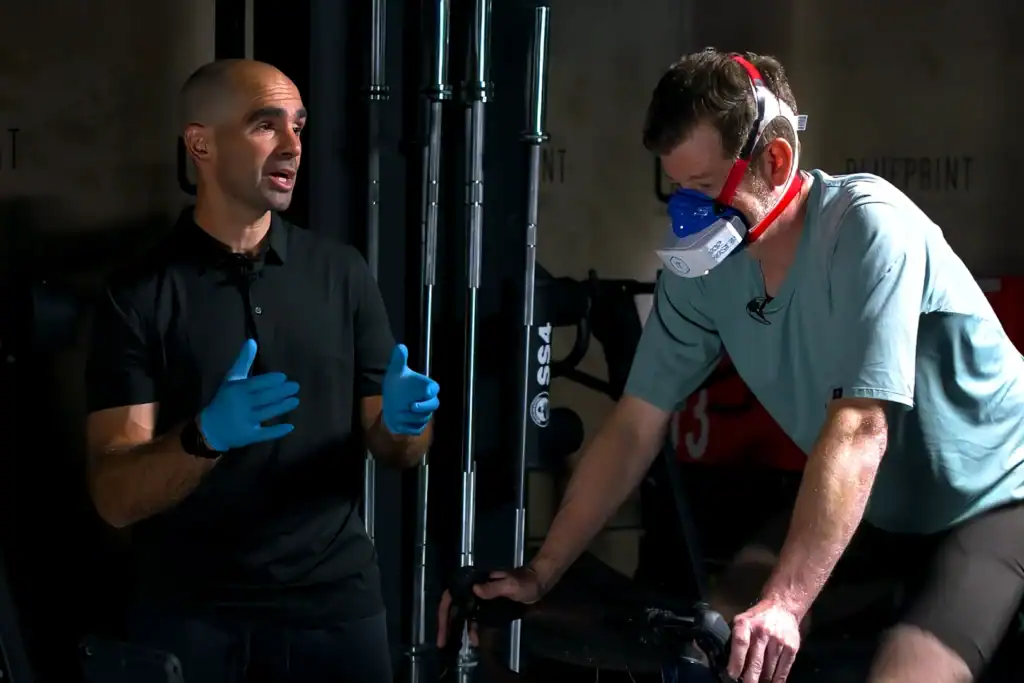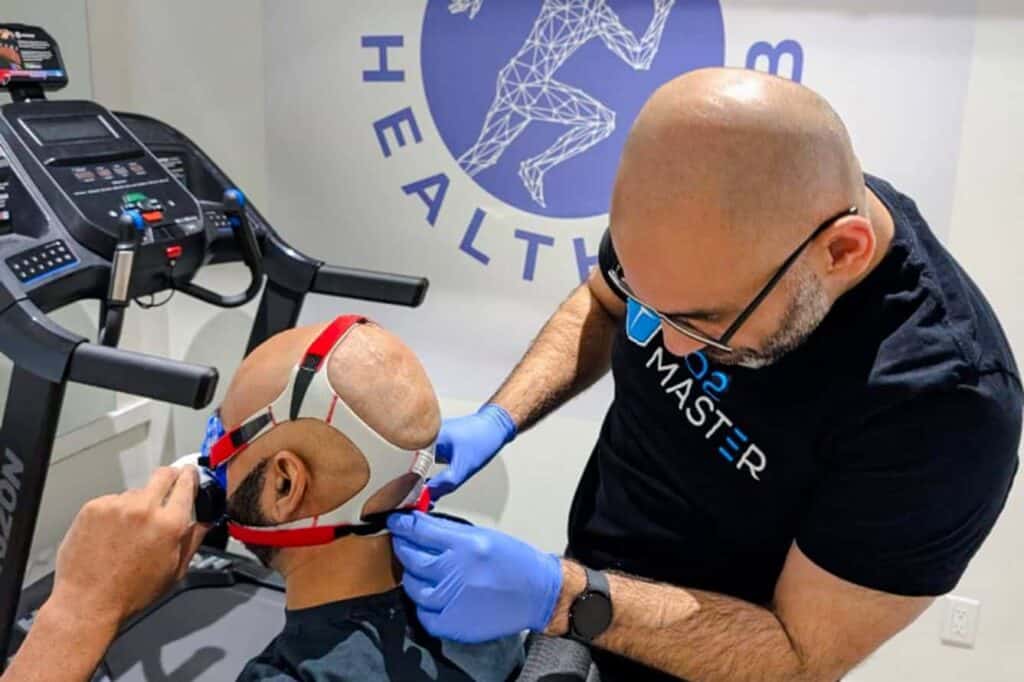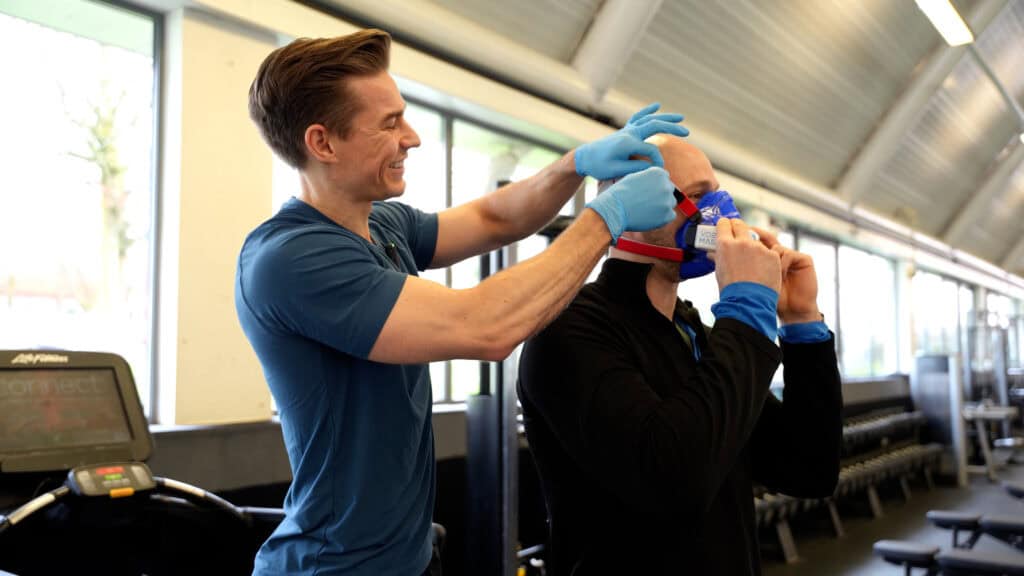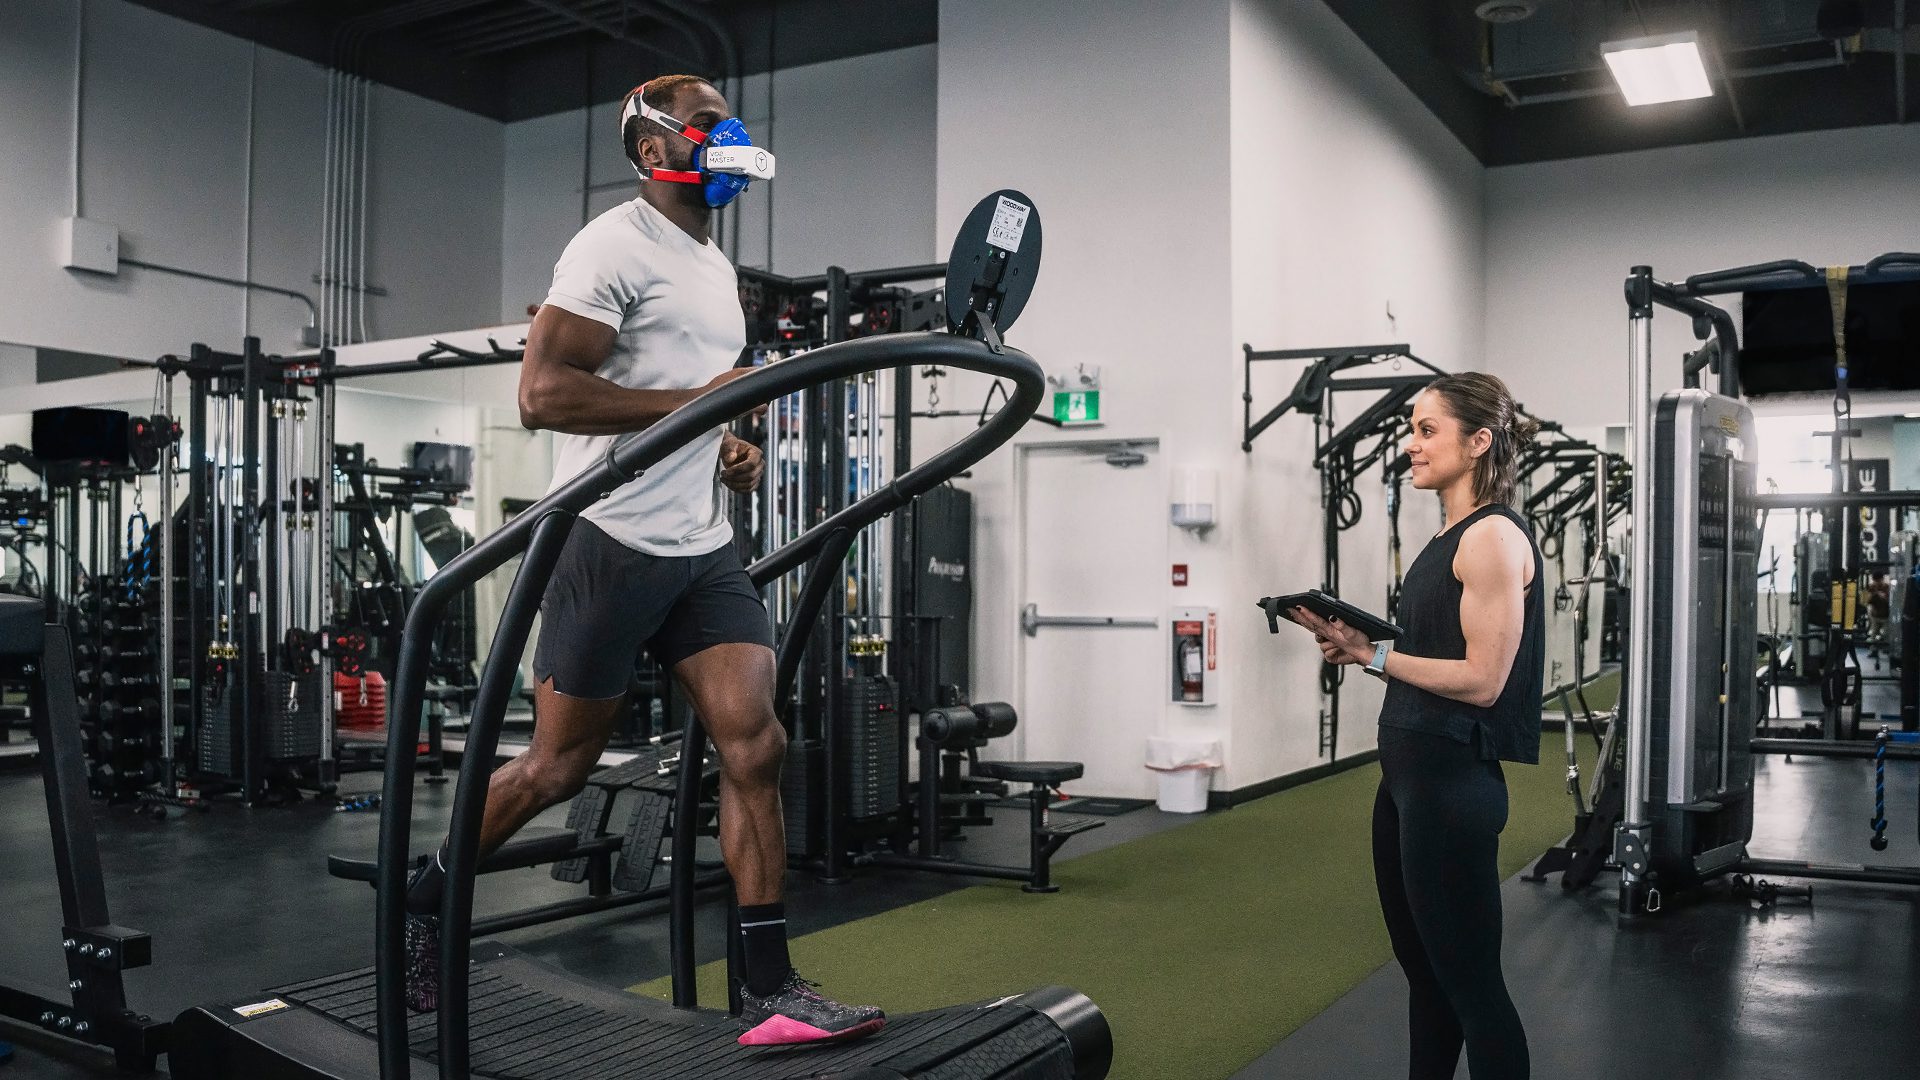
In this edition of the VO2 Master Education Series, performance coach Sean Seale and Dr. Andrew Sellars, Co-Founder of VO2 Master, discuss long-step tests, including what they’re used for, how to calibrate them properly and when you shouldn’t use a longer step test.
Read through the full details of their conversation below.
Sean Seale: When should we use a long-step test?
Dr. Sellars: I think the best use of a long-step test is when you’re really looking to assess physiology.
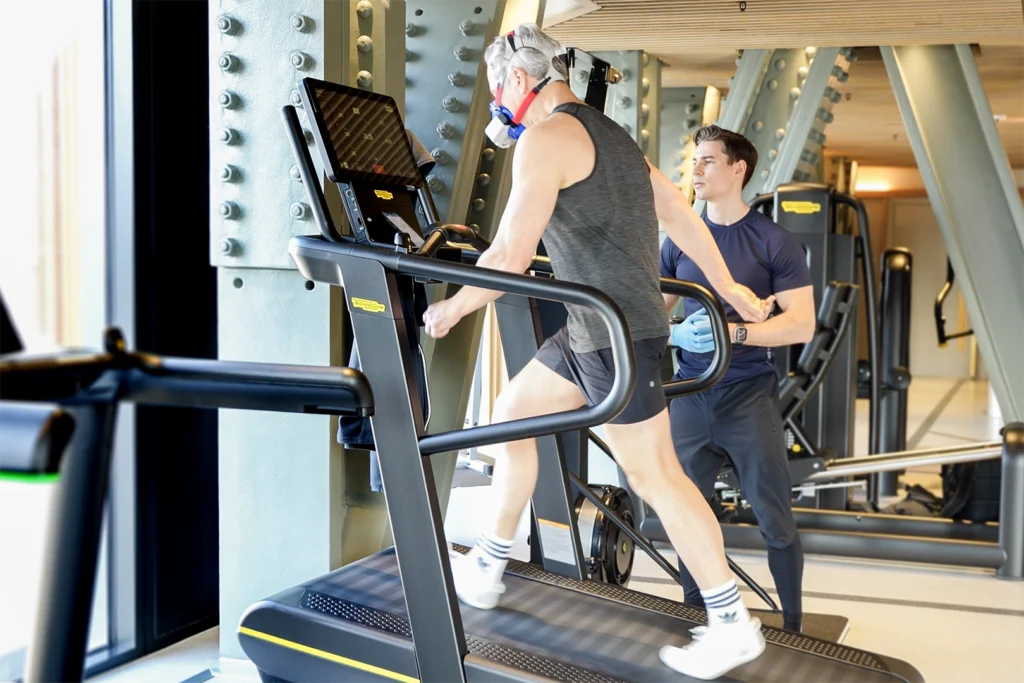
You’re trying to look at as much detail and data as to how an athlete responds to all different levels of intensity throughout the step test; low intensity, moderate intensity, and high intensity. And you’re able to have an athlete that can handle the longer duration.
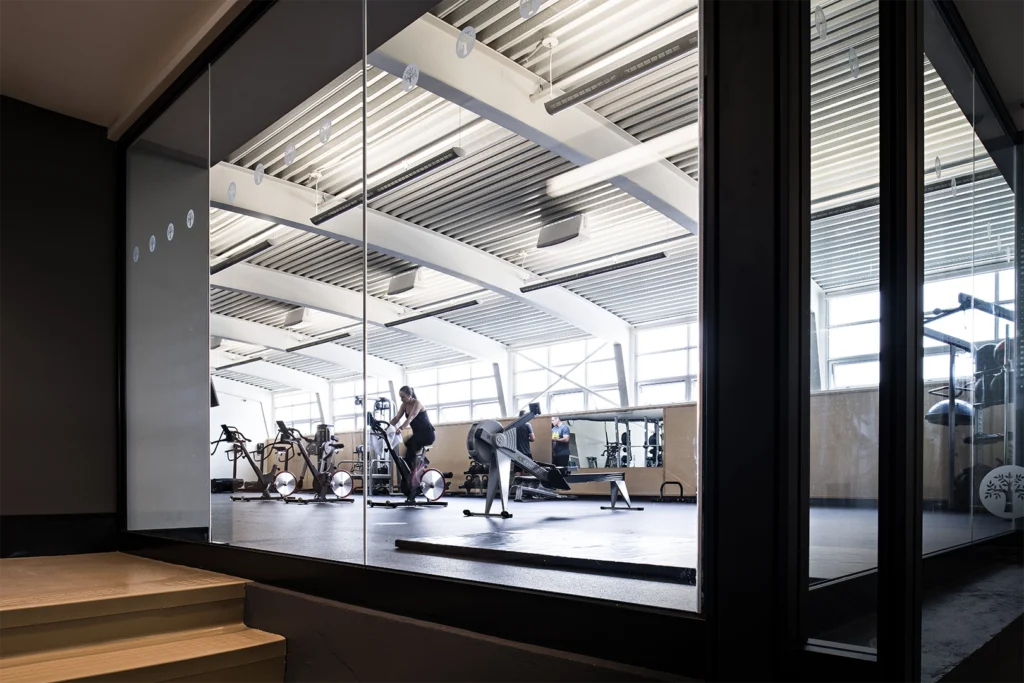
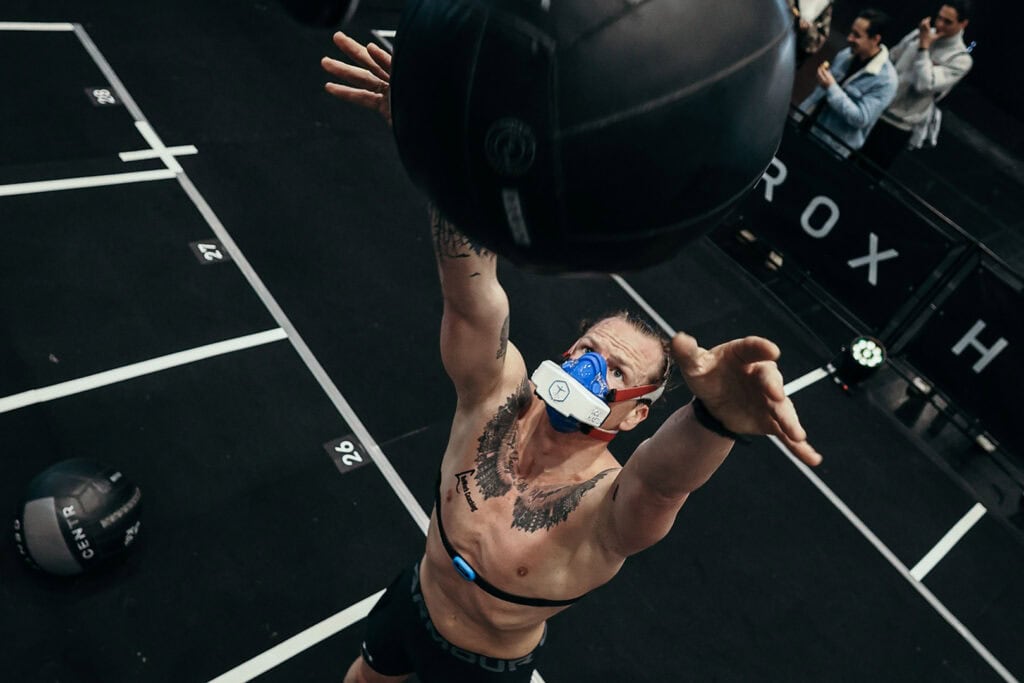
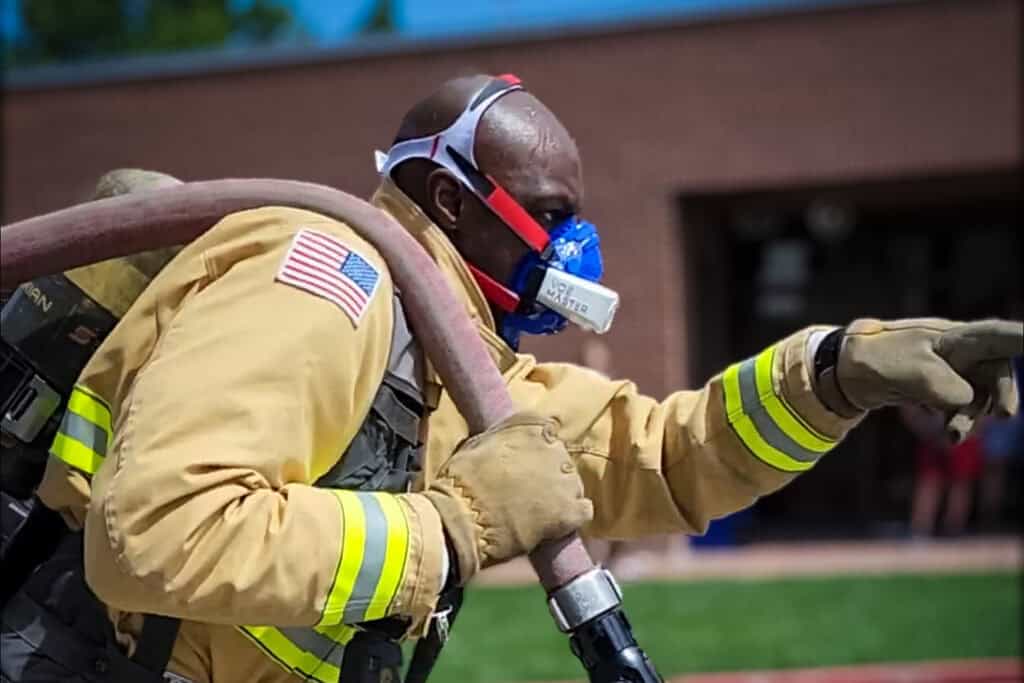
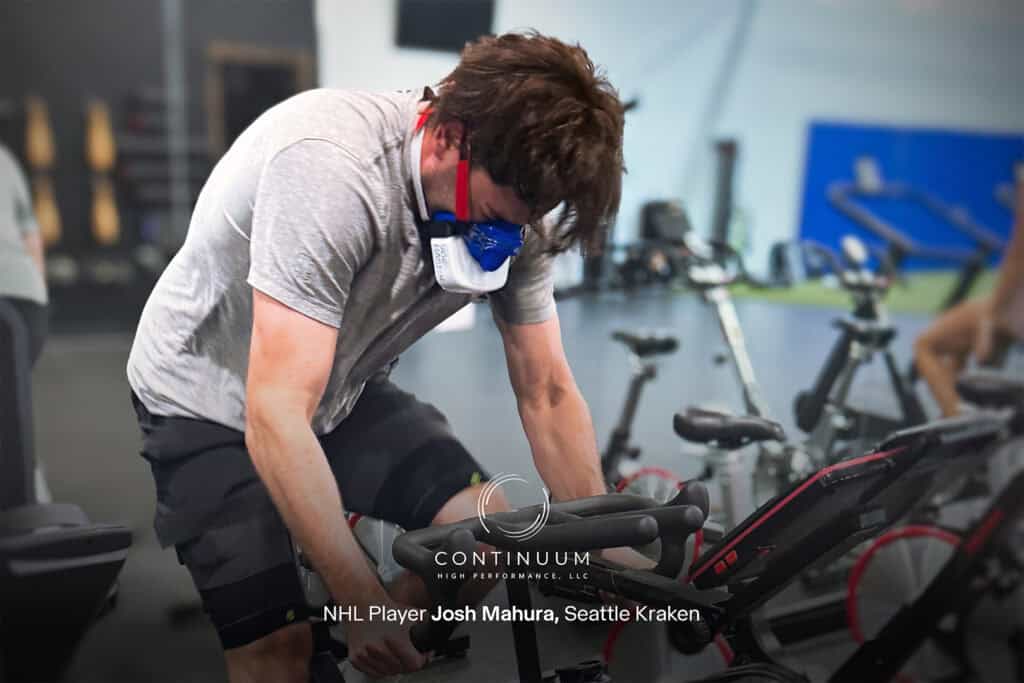
This is mostly used for our endurance athletes. But there is information that’s worthwhile for even sprint athletes and non-cyclical athletes to look at how their physiology is going to respond over time.
When we’re talking about a long-step test, how long should the steps be? We can also work in some rest intervals between those steps, how long should those be?
For a long step test, you can go anywhere from three minutes up to eight minutes per step.
I wouldn’t go any shorter than three minutes. There is value in looking at four and five minutes per step.
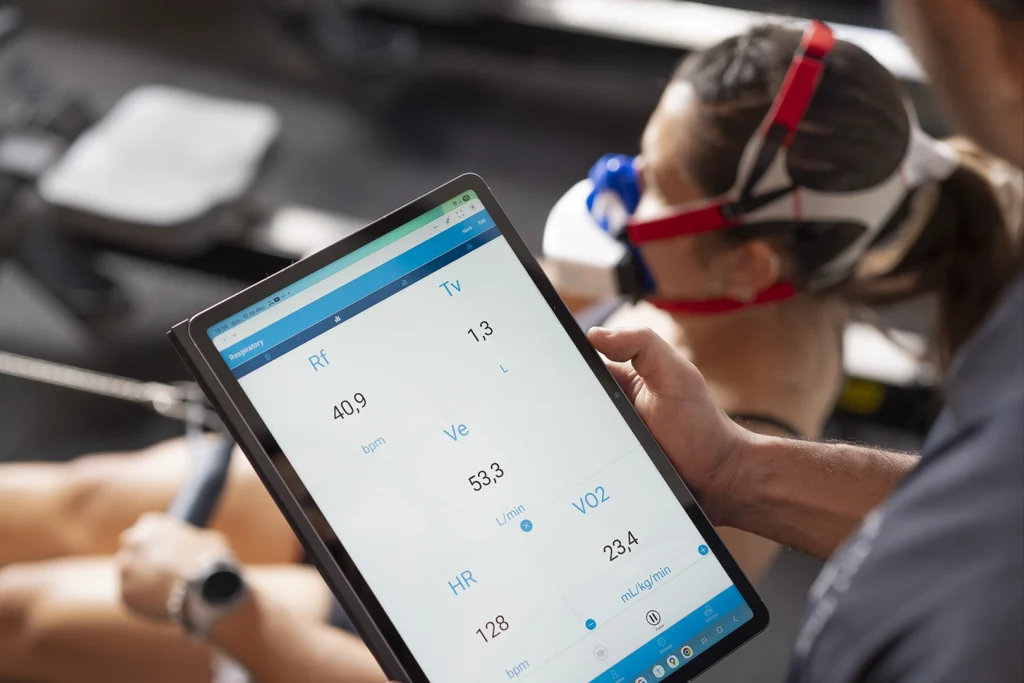
If you do anything less than three minutes, especially as we get into the moderate and higher intensities, the athlete is not going to end up in any sort of stability. Their physiology is going to continue to change through that whole three minutes before they actually reach any sort of plateau. You really want to see, in a long-step test, how an athlete settles in at the different intensities or you want to see that physiology hit some stability before you move to the next step.
Four and five minutes makes a lot more sense to me. If you start getting too long towards eight minutes, the test becomes overly cumbersome.
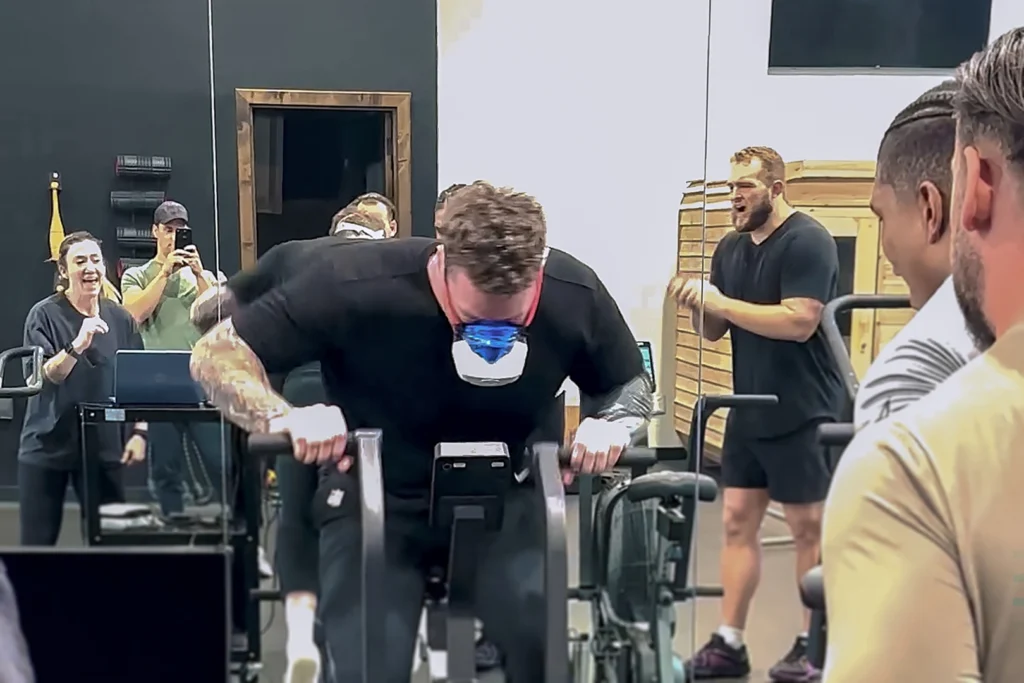
We have used an eight-minute step test for some of our assessments, especially for our ultra-endurance athletes, our Ironman athletes and our ultra runners. Because we really want to see how the body responds much longer than an hour into a test.
But those tests do become very long. They’re more like a long training session with very strict criteria on them to see how the body’s responding.
I guess we could say the longer the event of the athlete, the longer you can afford to go on those steps to see that balance?
Absolutely. Especially with your well-trained athletes. They’re physiologically able to handle the longer duration.
How do you calibrate a long-step test?
You really need to know the athlete. You have to have some idea of what their ability is and where you’re trying to take them.
If they’re brand new to cycling or running, they’re not going to be able to get to a very high level. So, you’re going to start very low and take small steps to get there. And know that they’re going to peter out at a fairly low intensity. Smaller steps, lower intensity grades for each step, knowing that you’re trying to get at least 6-7 different values across the range.
Knowing your athlete is really important; where they’re going to start and where you think they’re going to finish. I know you created some templates to make those decisions. Maybe you want to talk about that?
When would it not be recommended to use a long-step test?
If you’re trying to look at maximal values, this isn’t where you want to go.
And if you have a way of addressing weaker athletes or new athletes to it. They’re going to struggle with any sort of long version because they don’t have the fitness to handle it.
Those are the two cases where I would avoid long-step tests.
I will point out that your numbers for the calibrations are going to seem low to a lot of people, but they aren’t. That low wattage of 50 watts or 60 watts for beginners is where they need to be because that is still a physiologic stimulus to them.
It’s hard for many coaches, especially if you’ve come out of a competitive training background, to understand how low an intensity people need to start, so as not to cause an alarm phase reaction that overshoots everything. They’ll drive their heartbeat too fast, they’ll already be breathing well above their threshold. It needs to be that low.
It’s surprising, if you haven’t done lots of step tests before, how low in intensity you have to do. Especially with your beginner athletes.
Make sure when you set up those intensities based on the person’s body weight, use the same wattage as you did on the first test. If you allow your steps to change, then you don’t actually have a proper before and after you can compare.
Absolutely. Maintaining consistency, so the test is the same every time after you’ve determined that first test.
And there is almost no downside to starting too low. The information that you can gather from a low intensity is equally valid and usable. We’ll talk about that in future discussions about how we can use data at the low intensities to help guide training and help identify things like FatMax zones and other pieces; heart rate and using heart rate variability, looking at different stress responses and how the body responds.
So, start low, go slow. It’s a nice warm-up for them and there’s tons of information that you can use from those low intensities.