This is the sixth episode in this series. If you haven’t yet listened to Episode 5, click here to read our 10 takeaways and listen to the episode in full.
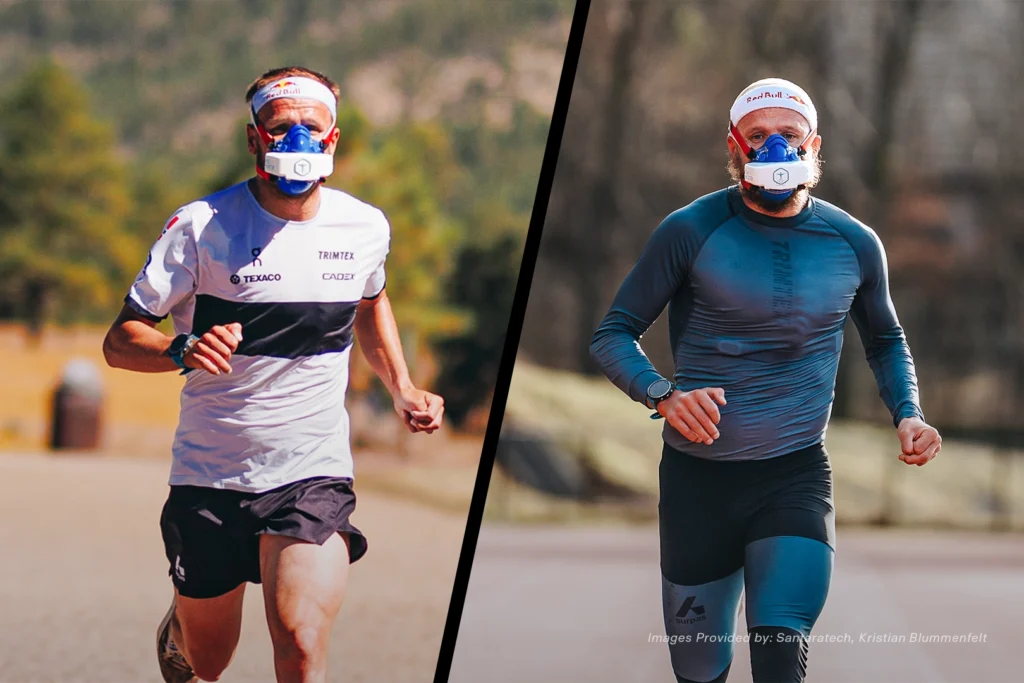
In the sixth episode of The Norwegian Method Podcast presented by Santara Tech, hosts Dr. David Lipman and coach Olav Aleksander Bu, explore how to optimize your performance in the bike portion of your triathlon.
From gear to brick sessions and the optimal volume of bike training, here are 6 highlights from episode six.
1. Evaluating the Merits of Swim-Bike Brick Sessions

While bike-run brick sessions typically get the most attention, there are merits to swim-bike bricks as well.
For one, it’s important to practice getting your wetsuit off quickly and without damaging it.
It’s also good to experience the feeling of getting onto the bike when you’re still wet and feeling a bit fatigued from your swim.
Most importantly, it’s essential to use swim-bike bricks to optimize your transitions.
If you’re working hard to save a few minutes in your race, you don’t want to waste them with a slow and disorganized transition.
This is important in Ironman distance races and it’s even more so in shorter races—those few minutes can be the difference between winning and losing your race.
2. The Ideal Volume of Brick Workouts
It’s safe to limit your focus on brick sessions because the effort isn’t always worth the potential reward.
Brick sessions are generally unspecific, combining a short bike ride with a short run, and this isn’t reflective of what you’ll need in your race. The primary purpose of brick sessions is to ensure you don’t lose time in transition.
When it comes to improving your physical performance, you’re better off training for the pace you’ll need to have a good ride post-swim or a good run post-ride.
3. Understanding Ideal Bike Training Volume
In previous episodes, Olav and David discussed the fact that you should apportion your training based on the duration of each modality.
Your bike ride is your longest discipline on race day and therefore needs the most attention.
Defining your ideal bike training volume comes down to whether you want to improve your cycling or just maintain it.
If your goal is to maintain it, you’ll want to maintain the same training duration but reduce your intensity to ensure you avoid impairing your improvement in the other disciplines. Then, if you want to boost your cycling closer to the race, you can add more intensity to your workouts.
On the other hand, if you want to improve your cycling performance, you should aim to incorporate more intensity into your sessions.
In any case, your training duration should remain consistent.
4. The Impacts of Cycling Gear on Performance
When looking at your gear selection, there are a number of things that can increase your performance.
Helmets, for instance, can provide you with marginal performance boosts due to varying degrees of drag.
Aerodynamics is also an important factor, and this comes down to your positioning on your bike.
But by far the most important piece of gear for increasing performance is your tires. The wrong tires can easily cost you 10 to 20 watts of power due to mechanical and frictional loss.
5. How Much Training to Do On Your TT Bars
One of the biggest questions for triathletes is how much time they should spend training on their TT bars.
There are a few variables in the equation.
If there’s a drastic difference in your body position from your TT bike to your road bike, your time to exhaustion in the TT position can be much shorter.
But it’s essential to spend time training on your TT bars—in the same way can you develop power, you can also develop aerodynamics.
The more you sit upright on your bike, the more significantly your velocity drops—and the reduction can be huge.
In order to get stronger and more comfortable on your TT bars, you can start with a less aggressive position on your bike and then slowly lower your bars down.
People often avoid going onto their TT because they see their power go down, but that just means you need to practice it. Getting comfortable in this position will pay off massively in making you the best possible triathlete.
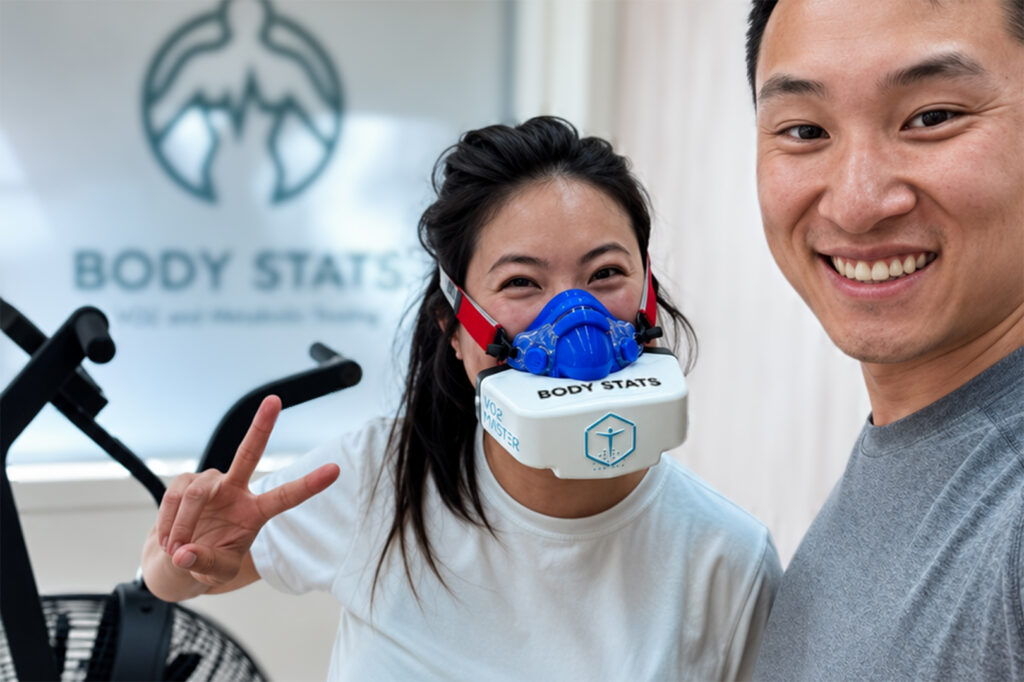
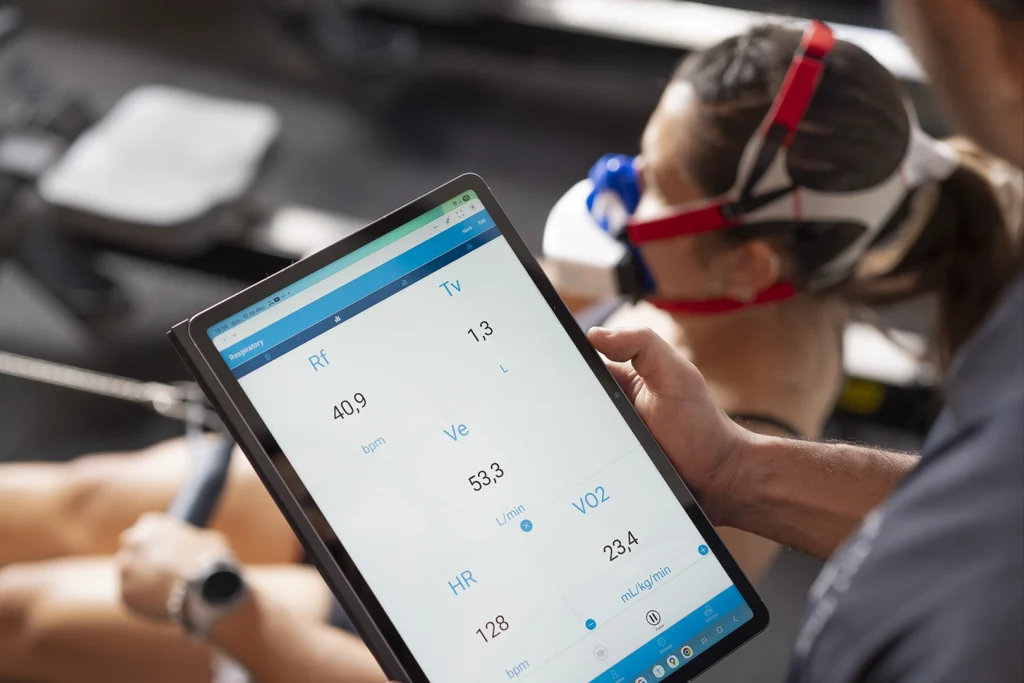
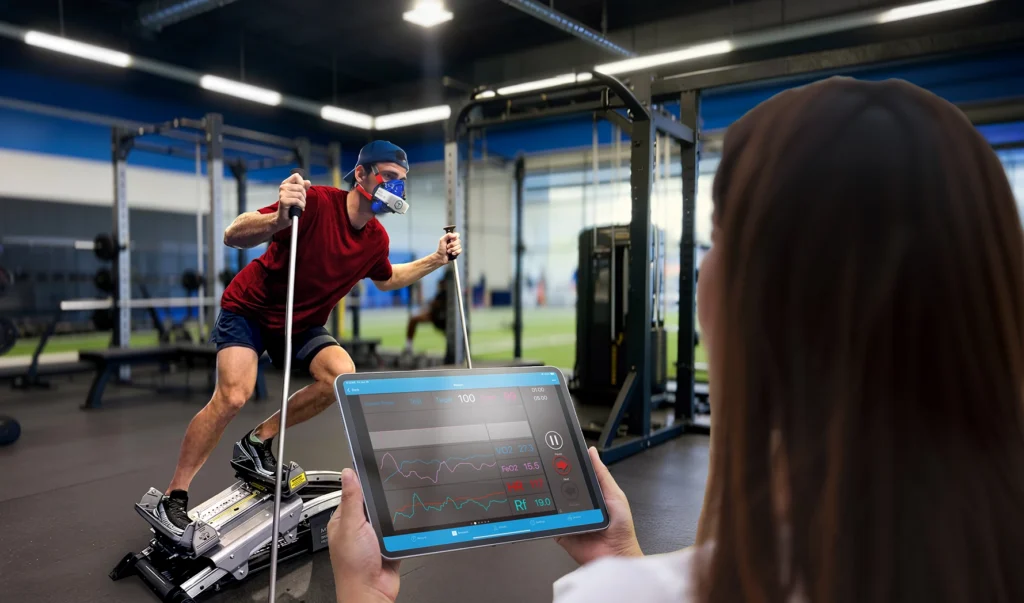
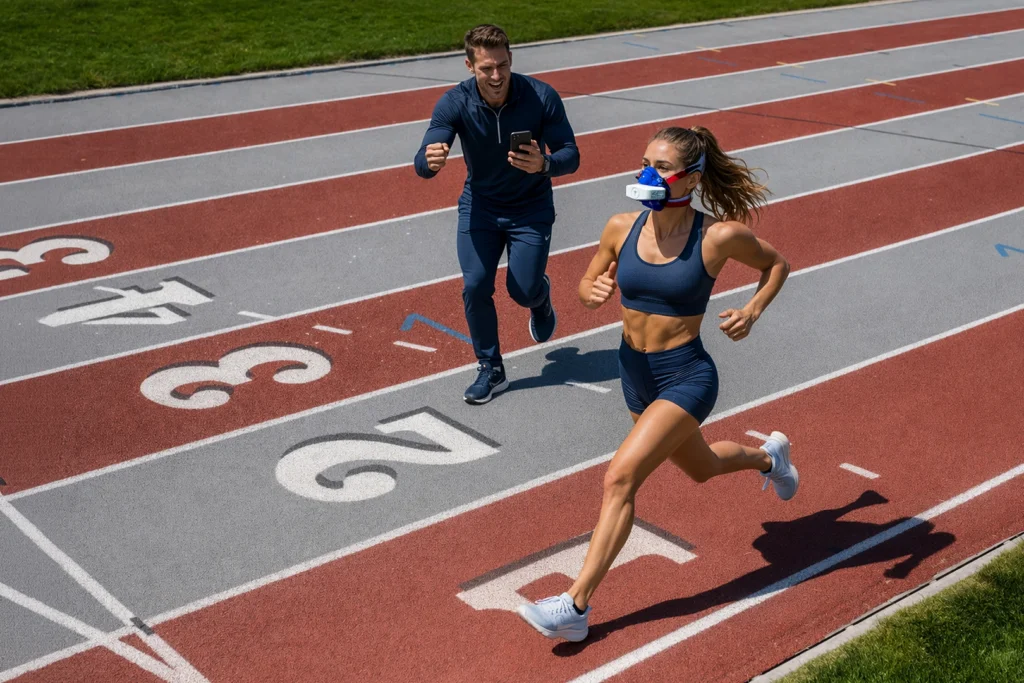
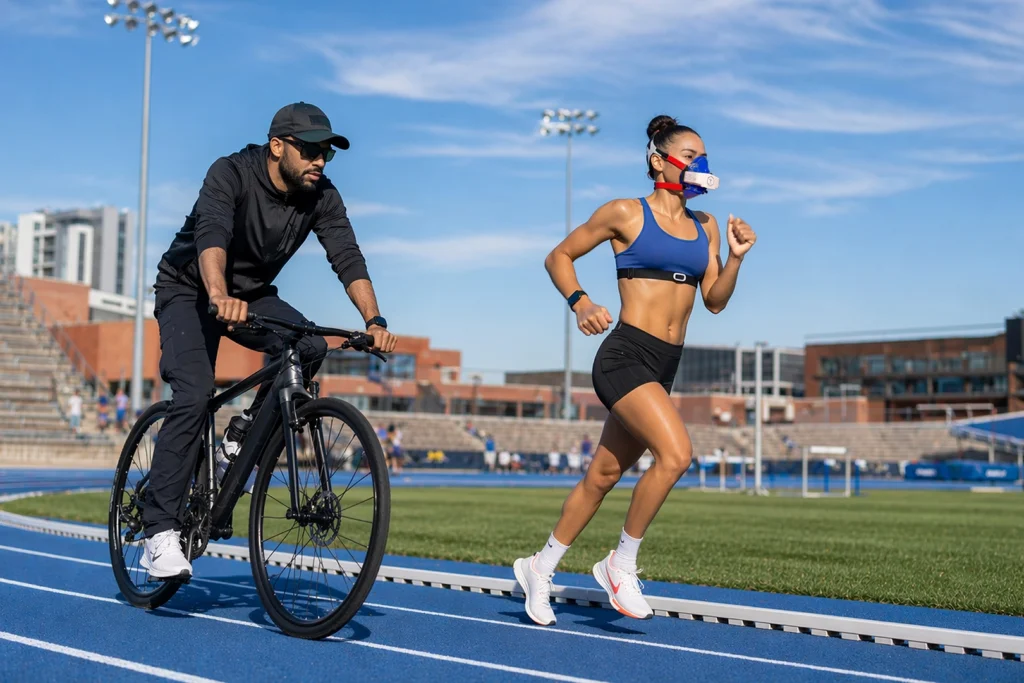
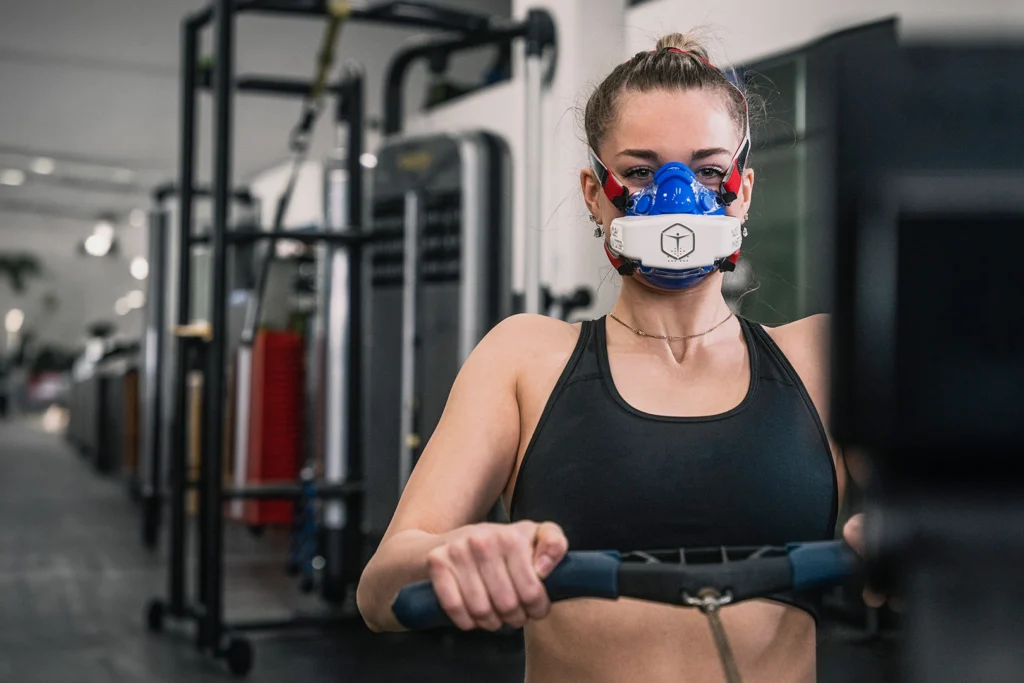
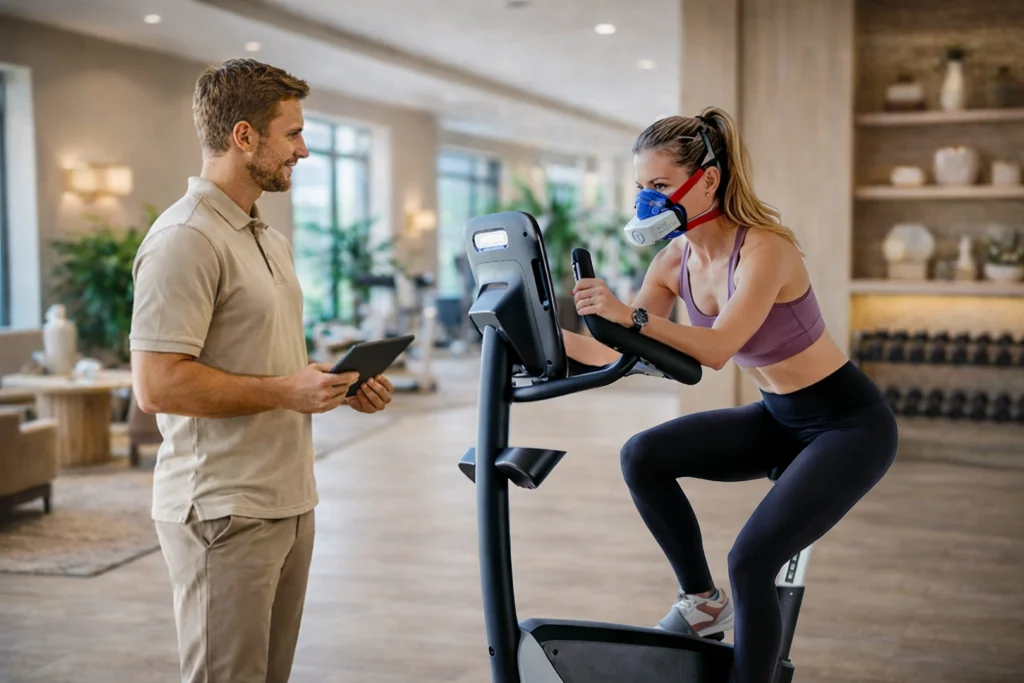
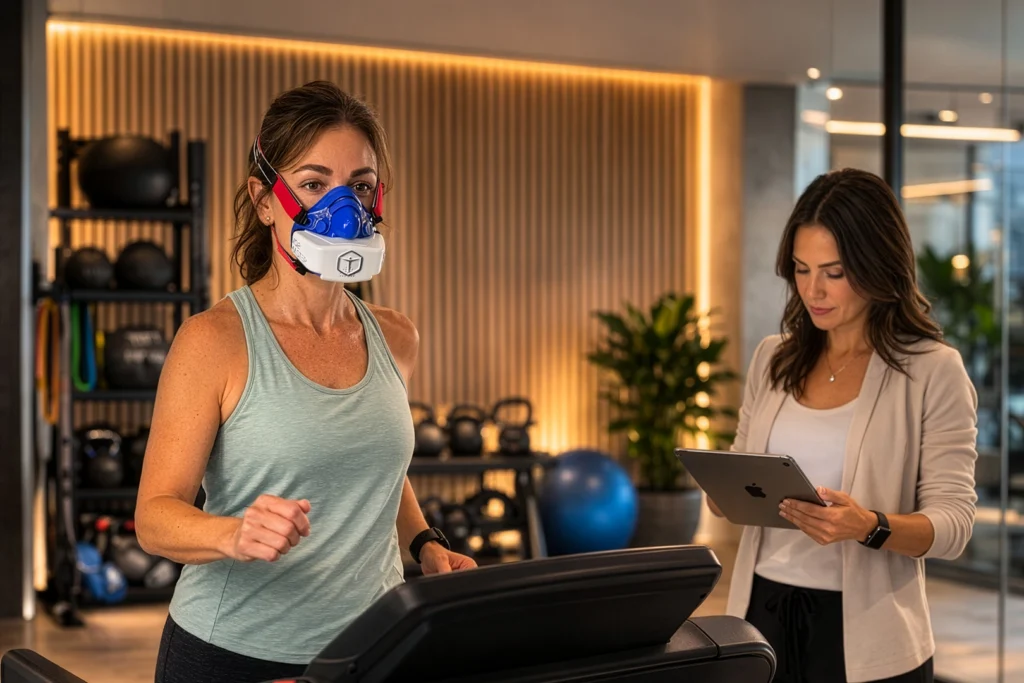
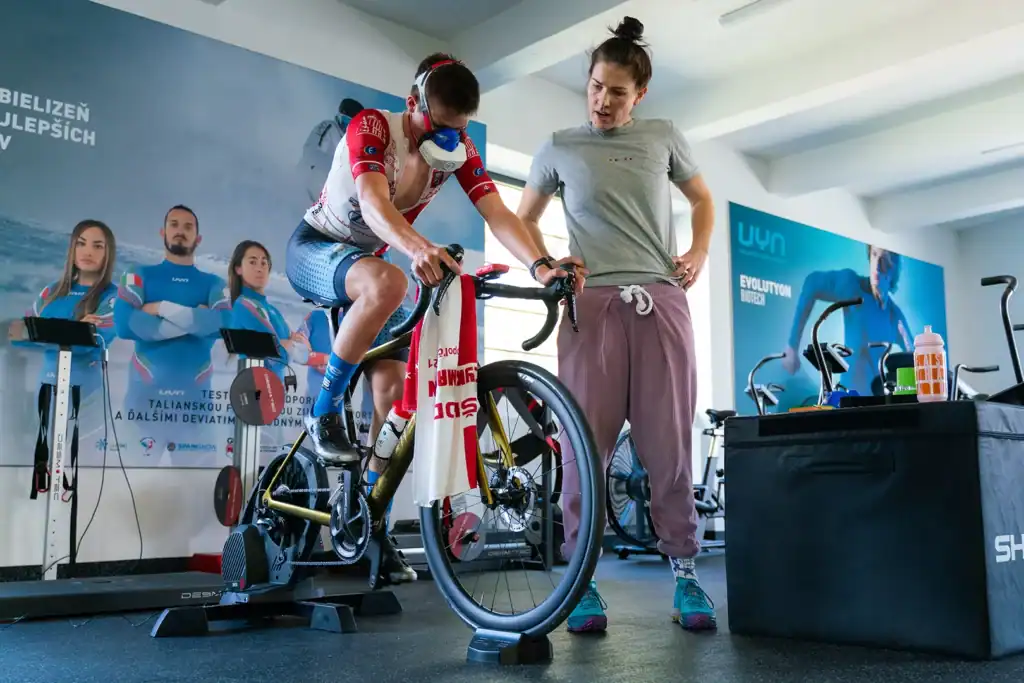
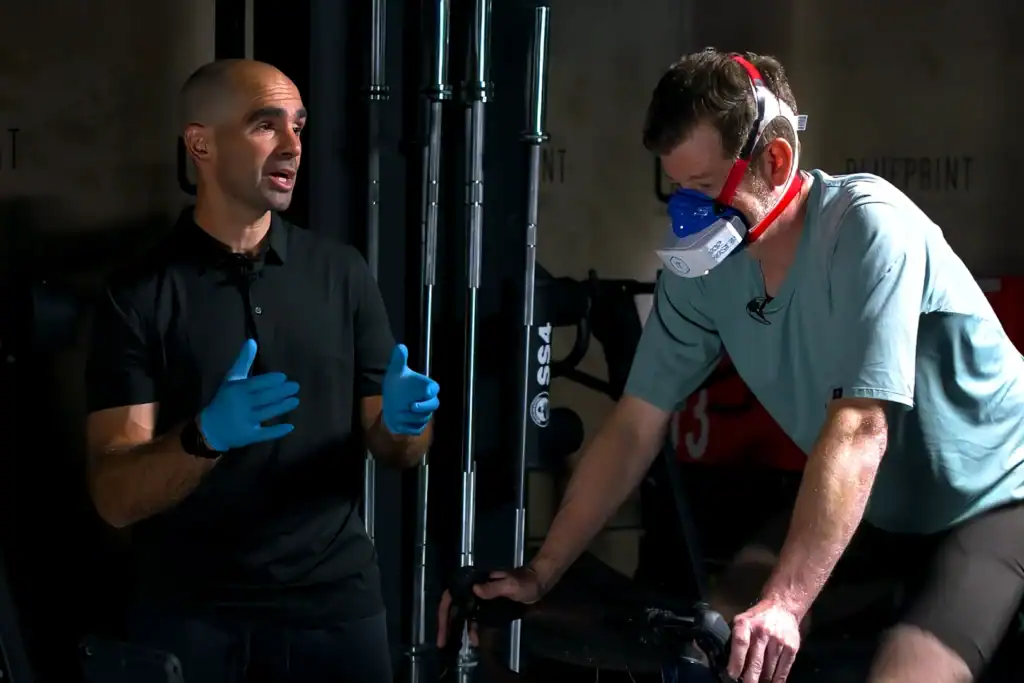
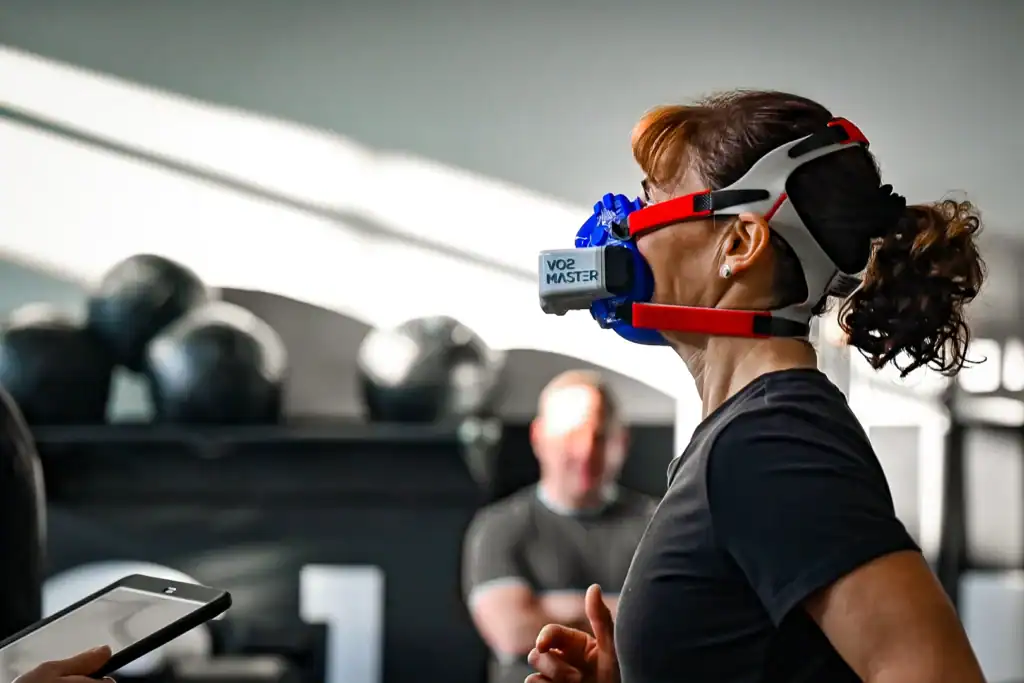
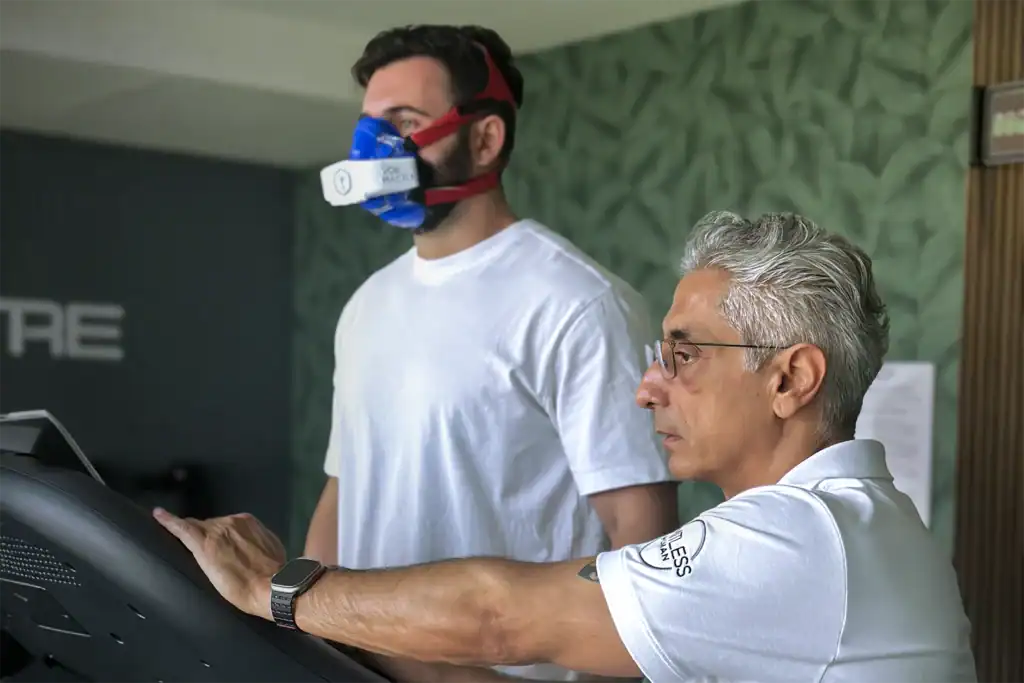
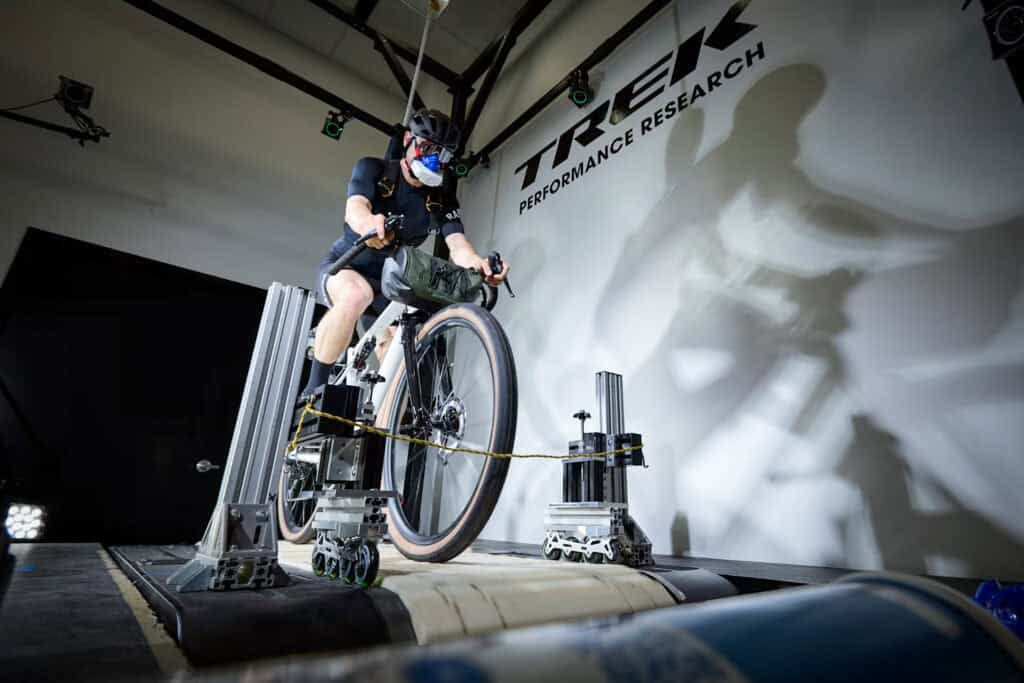
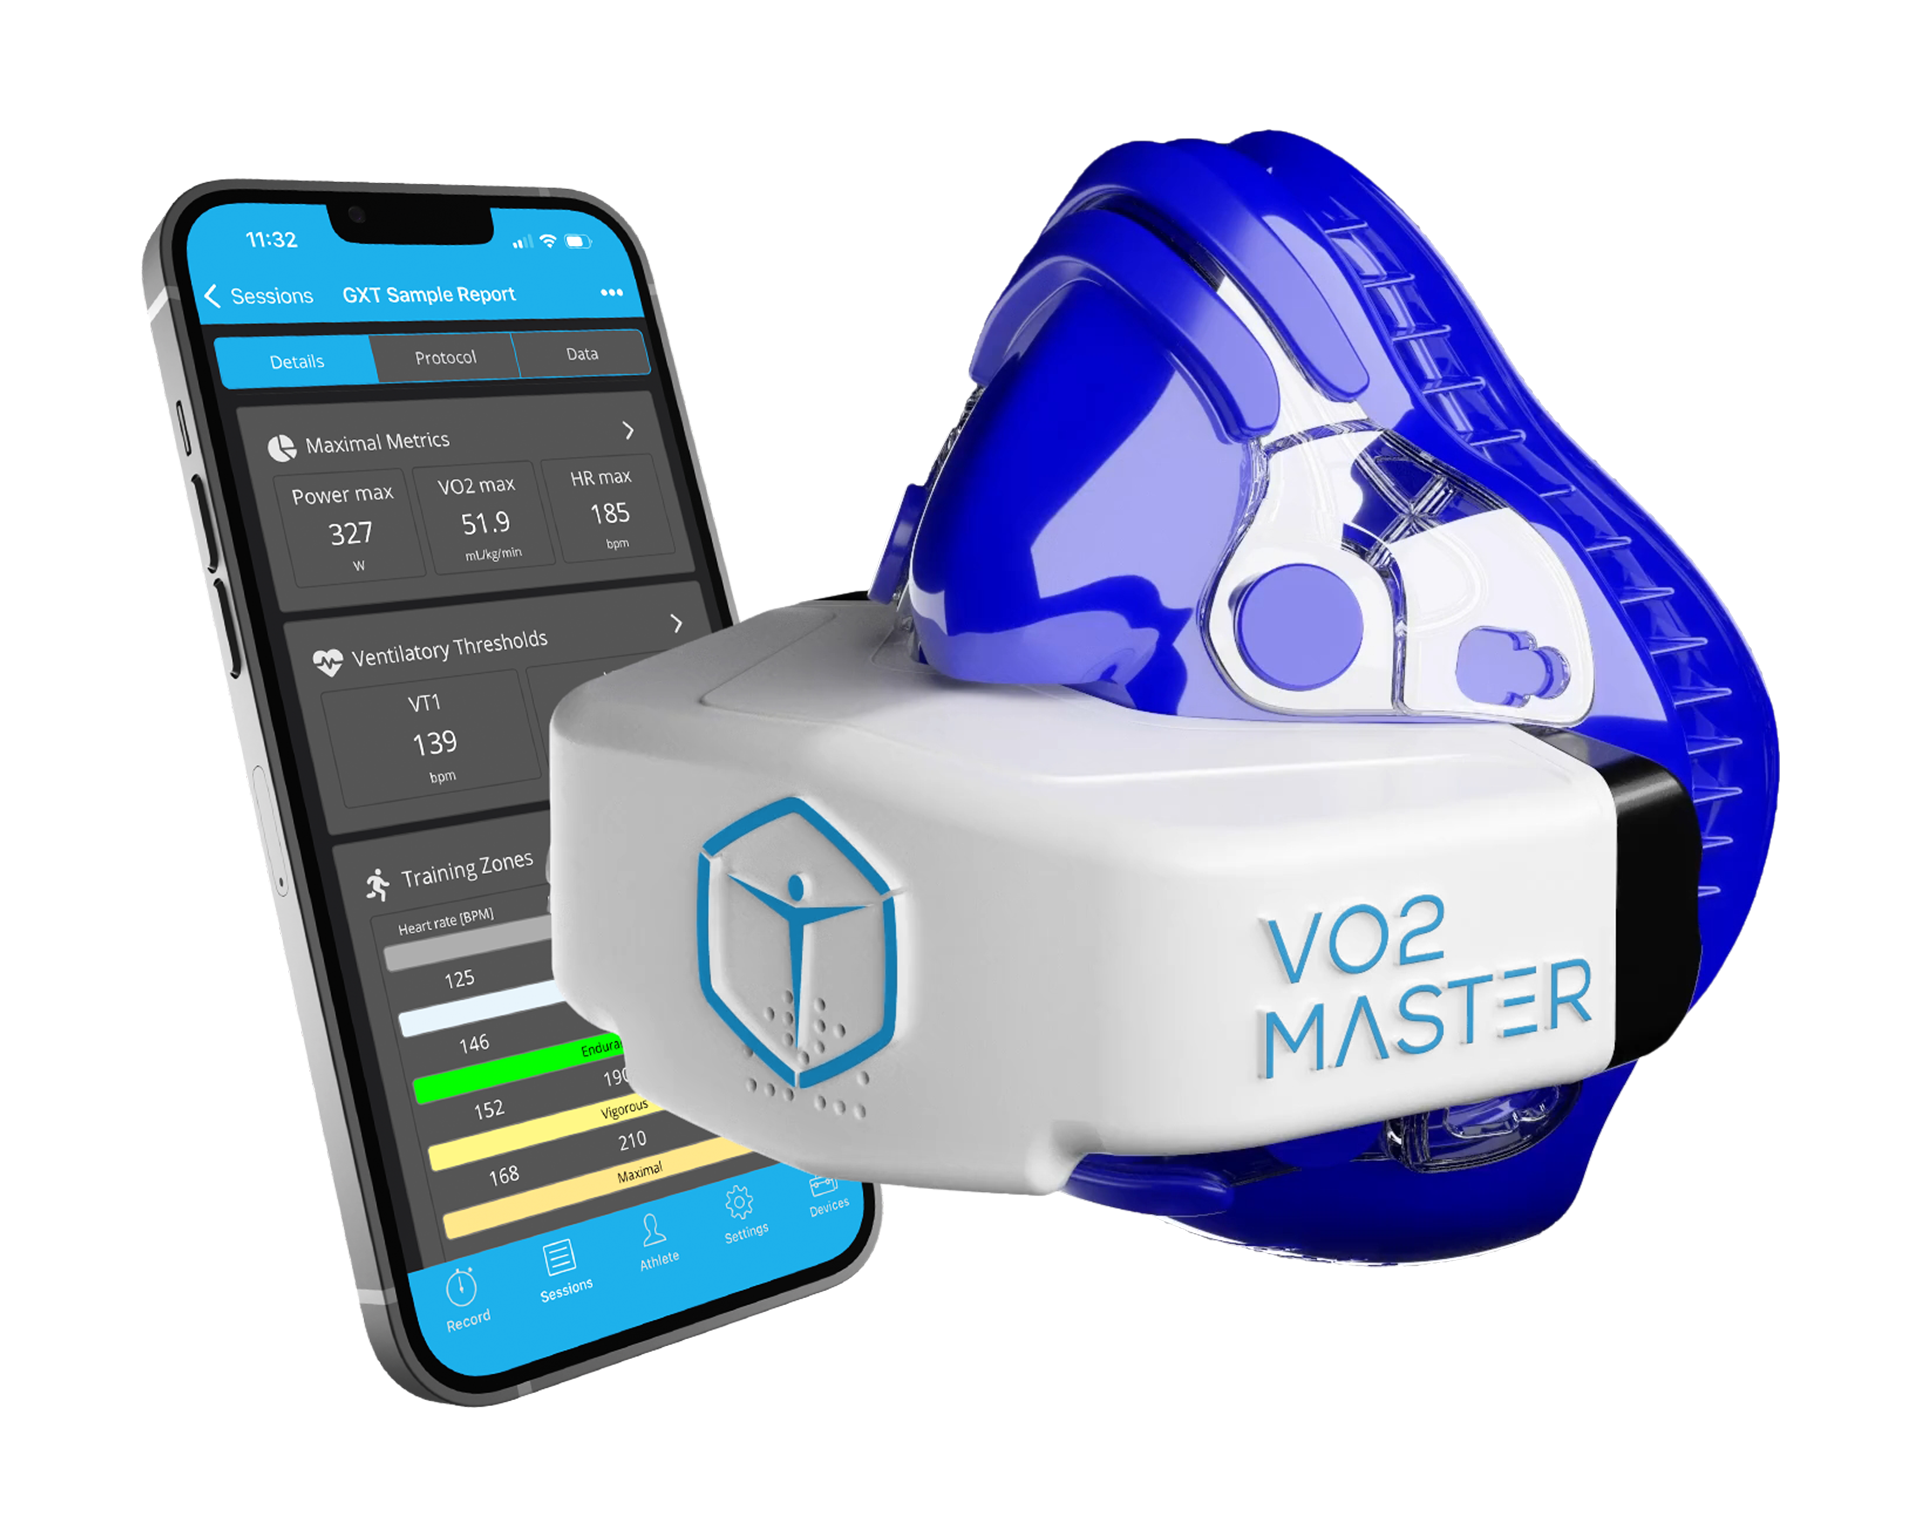
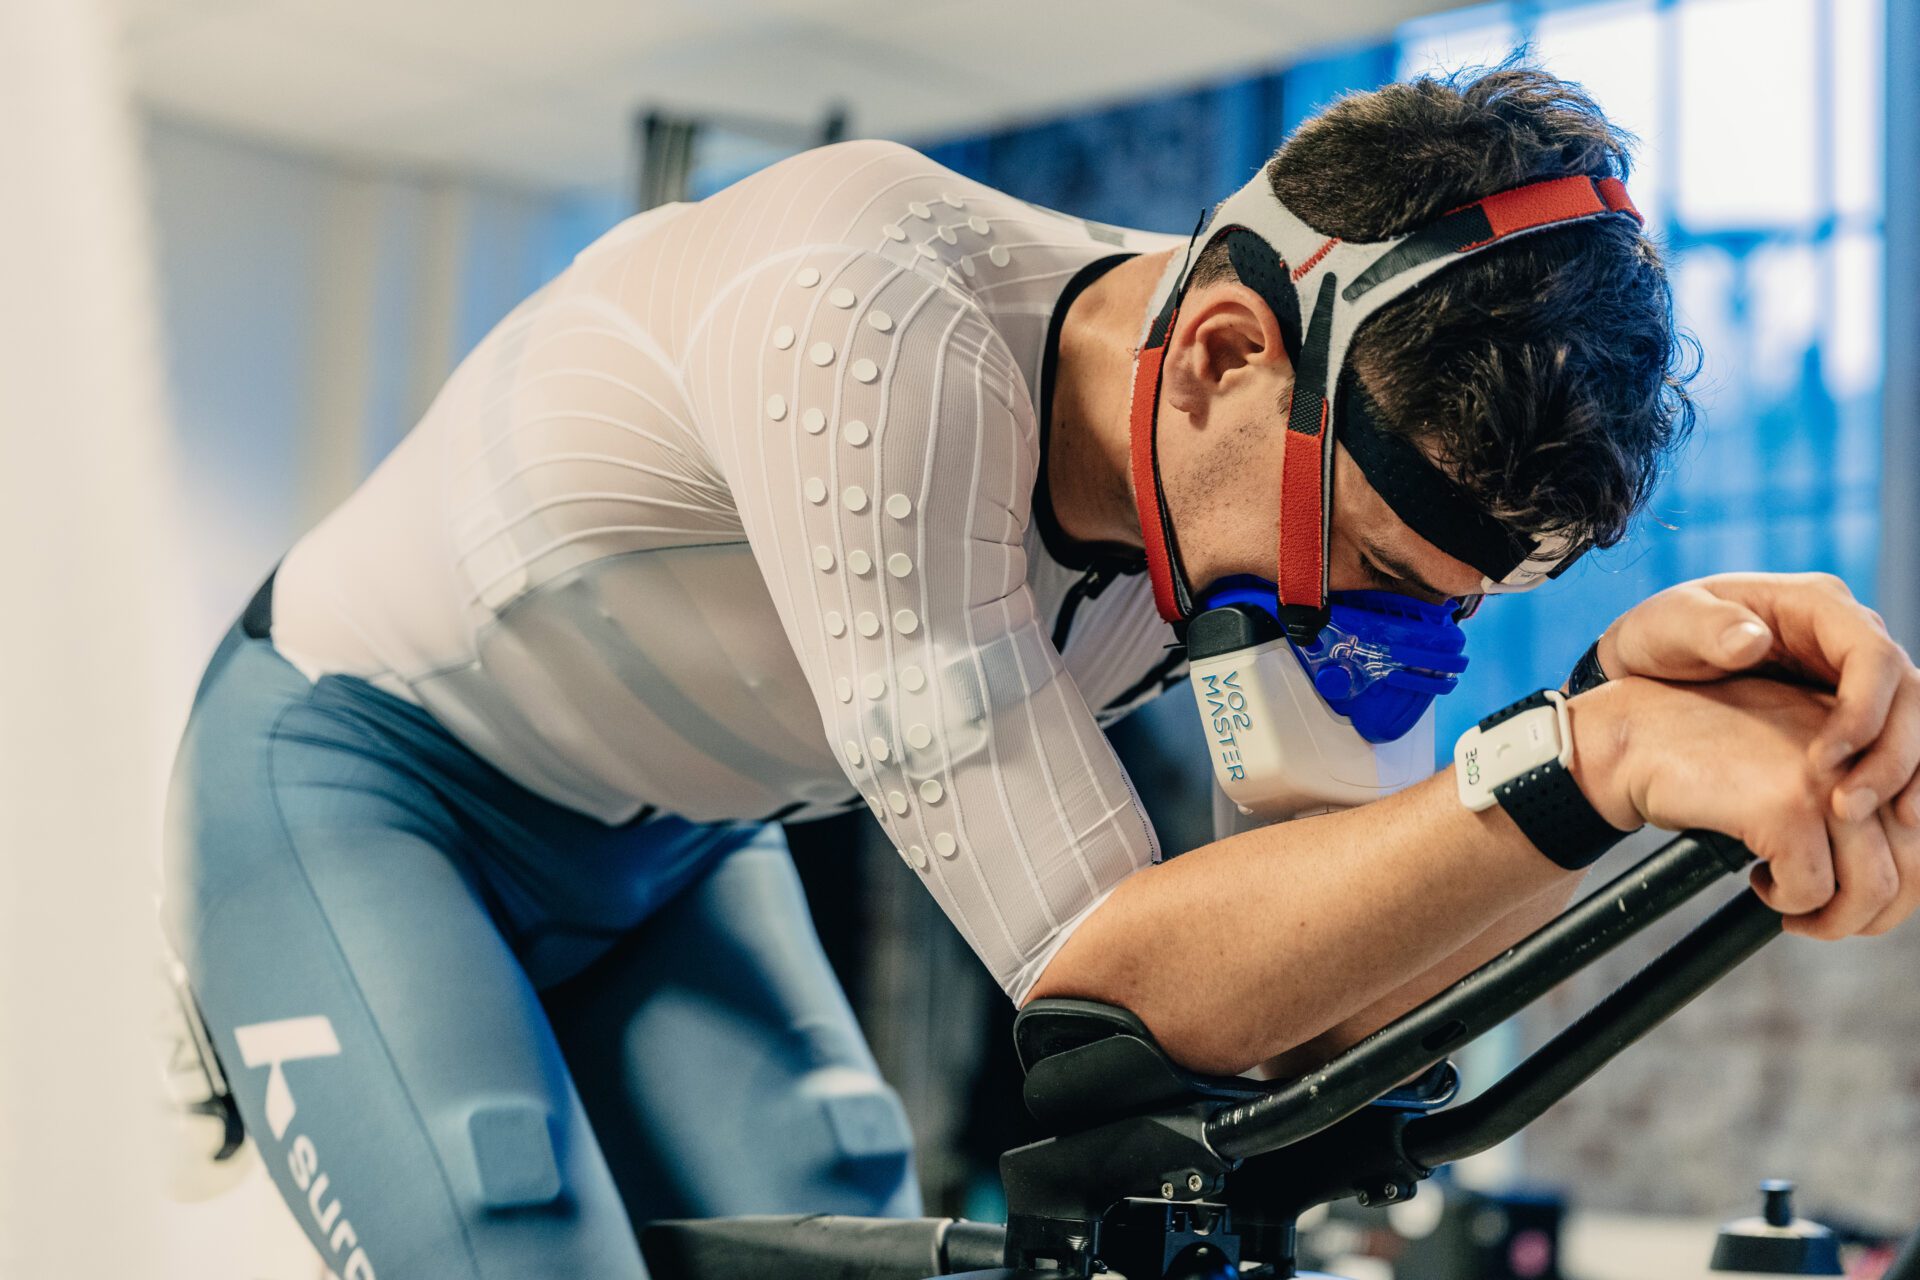
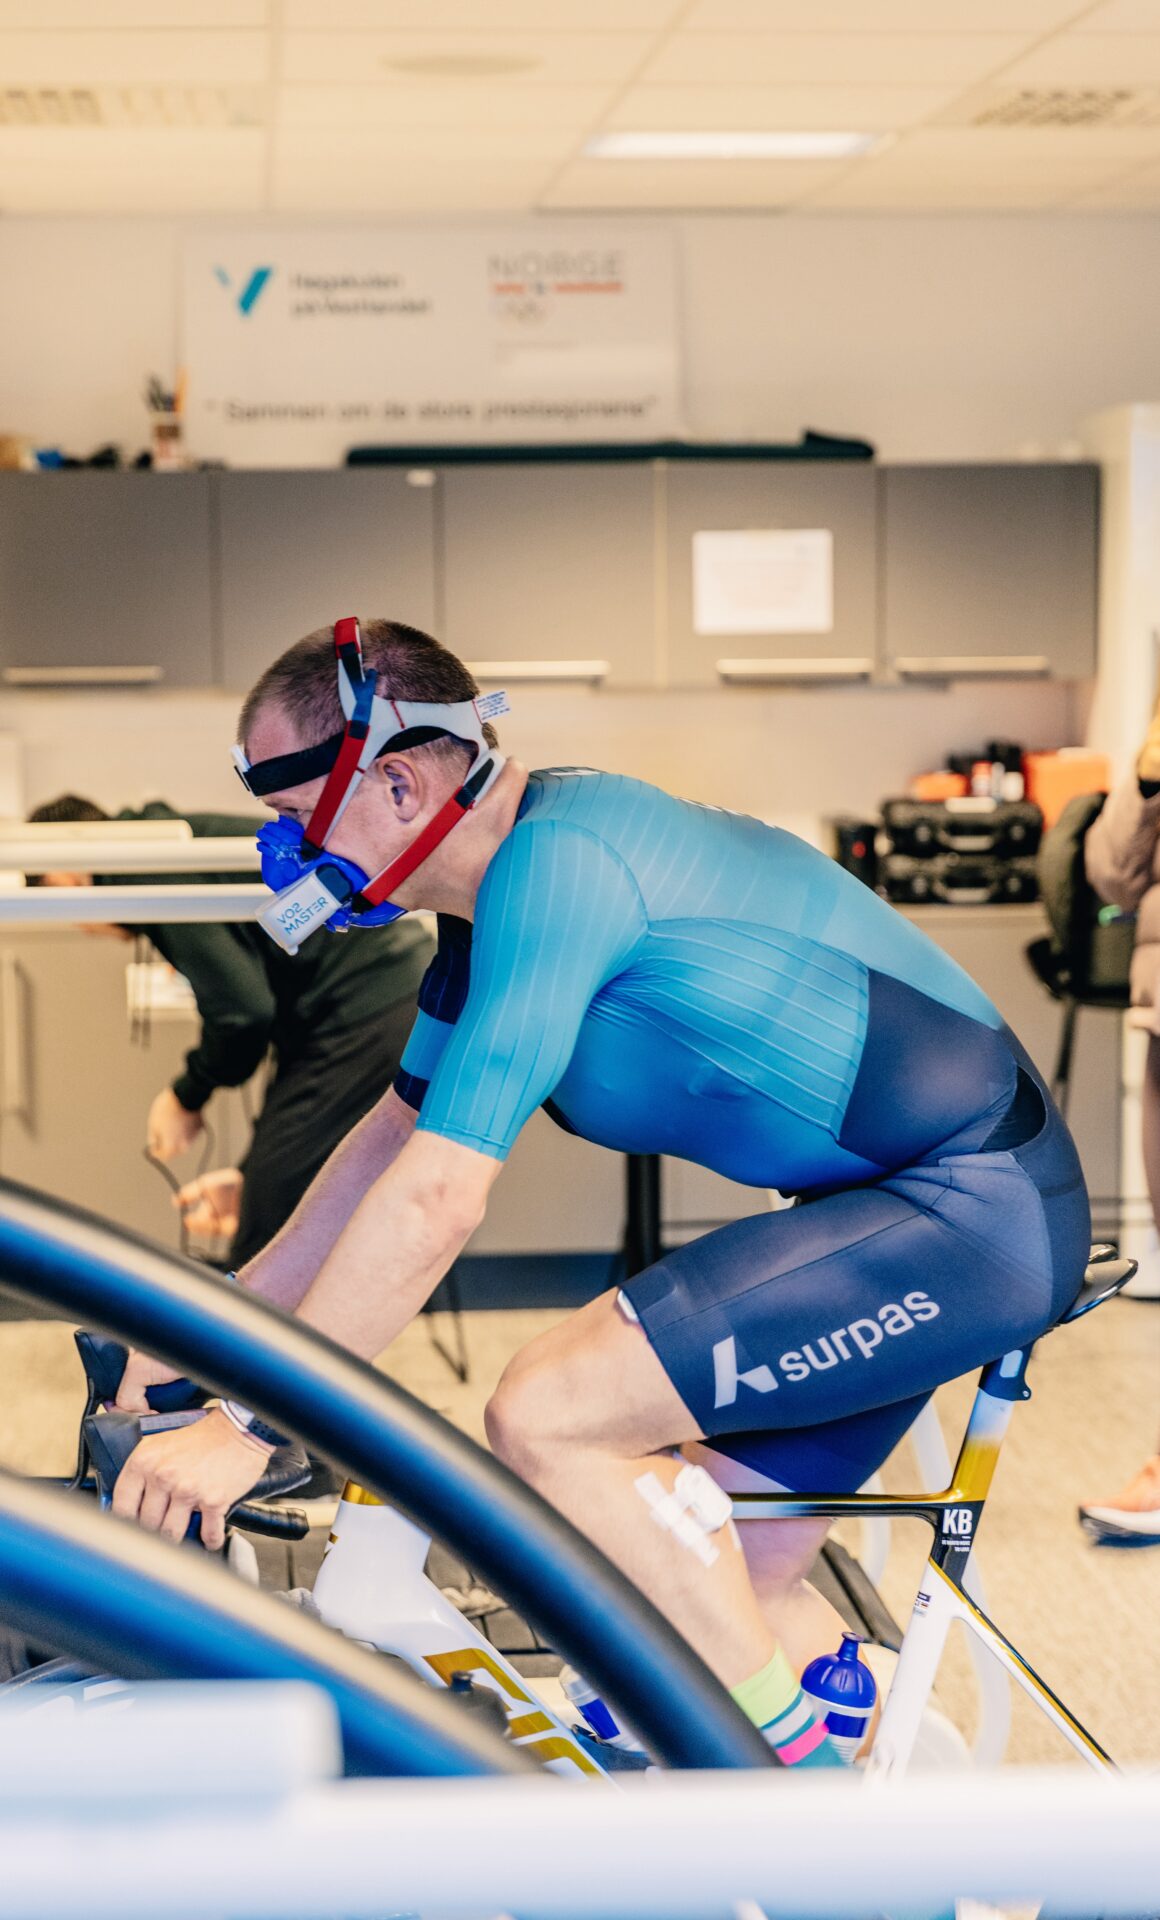
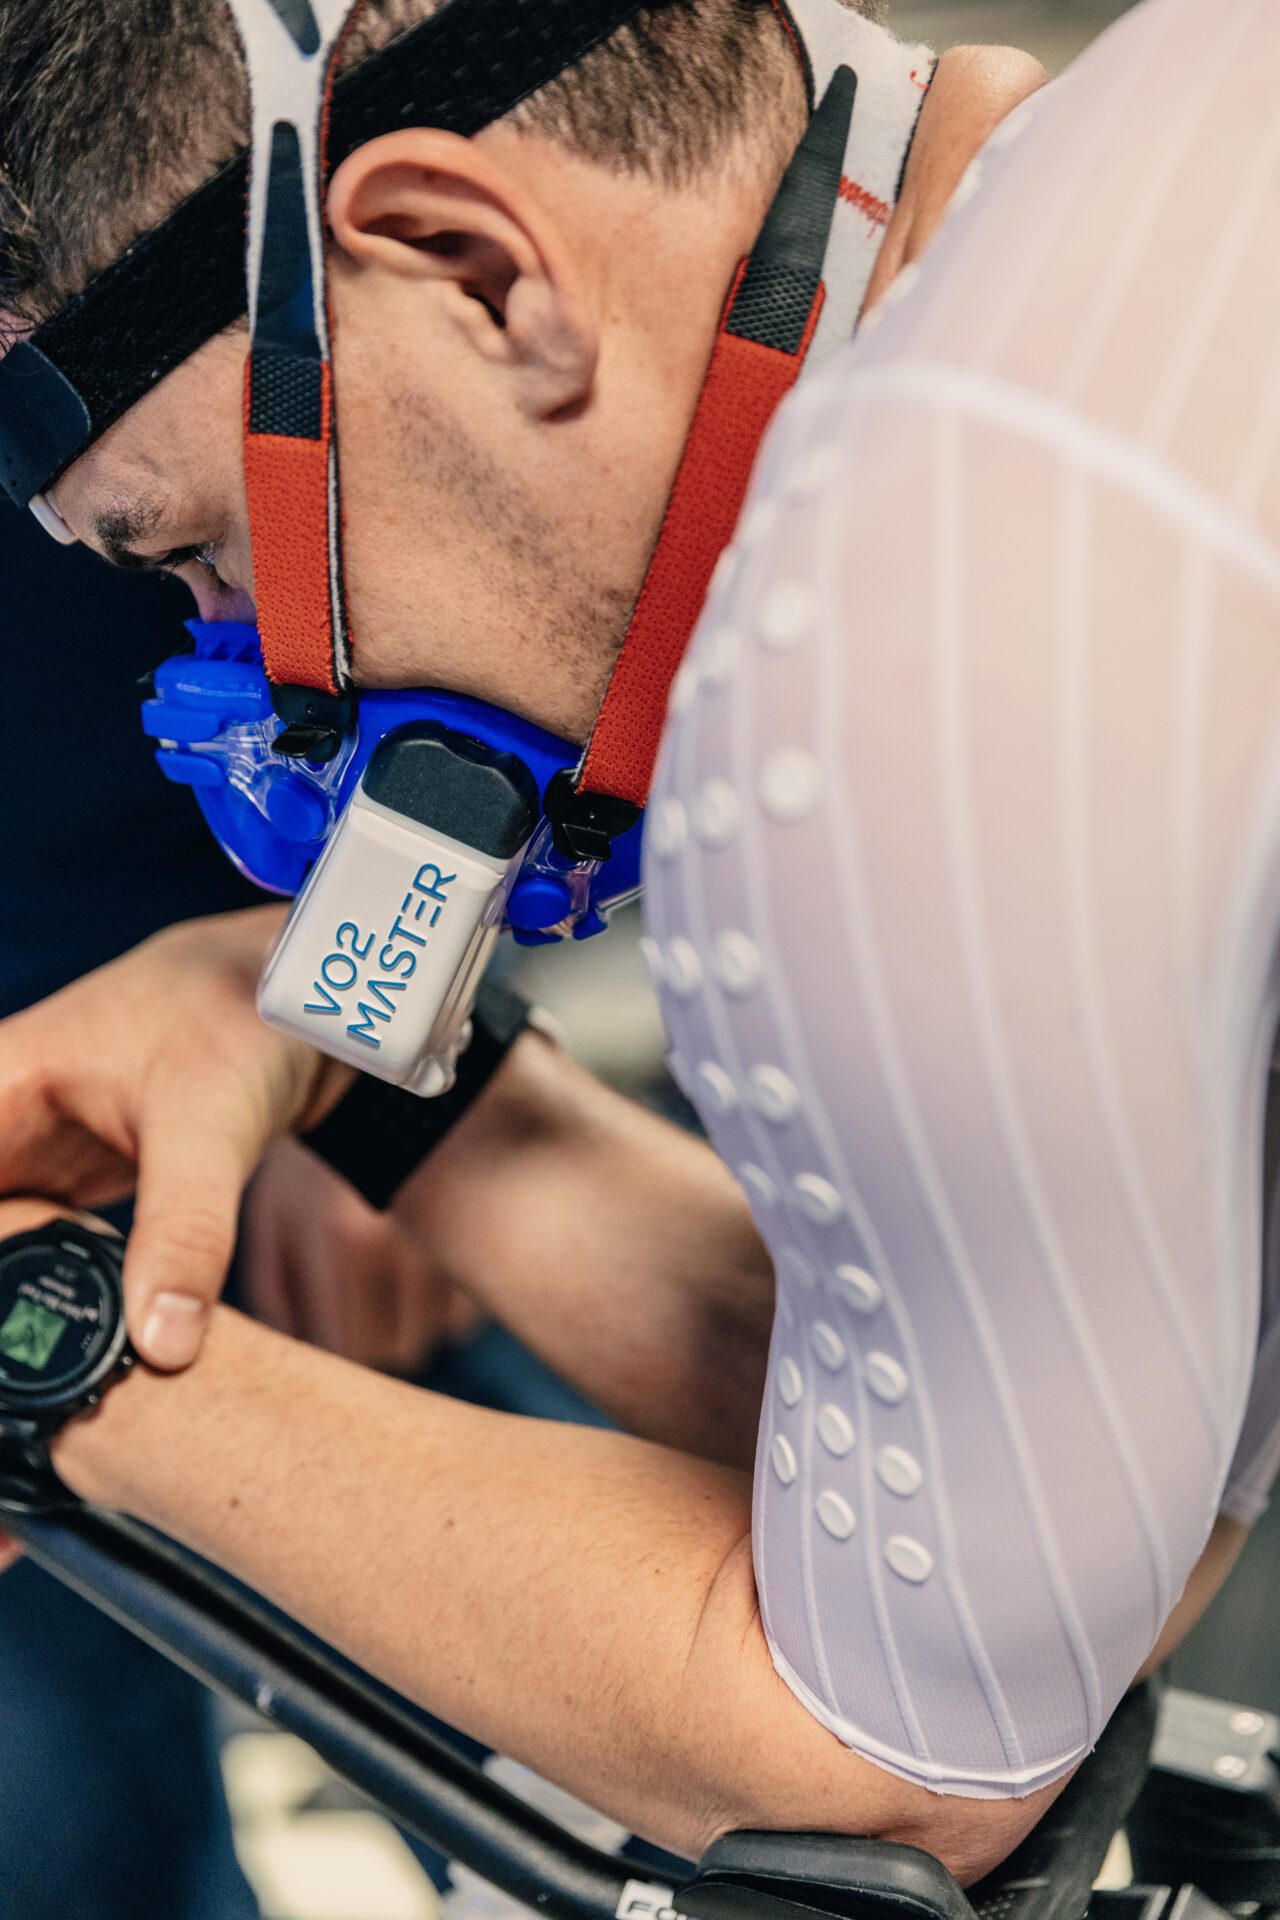
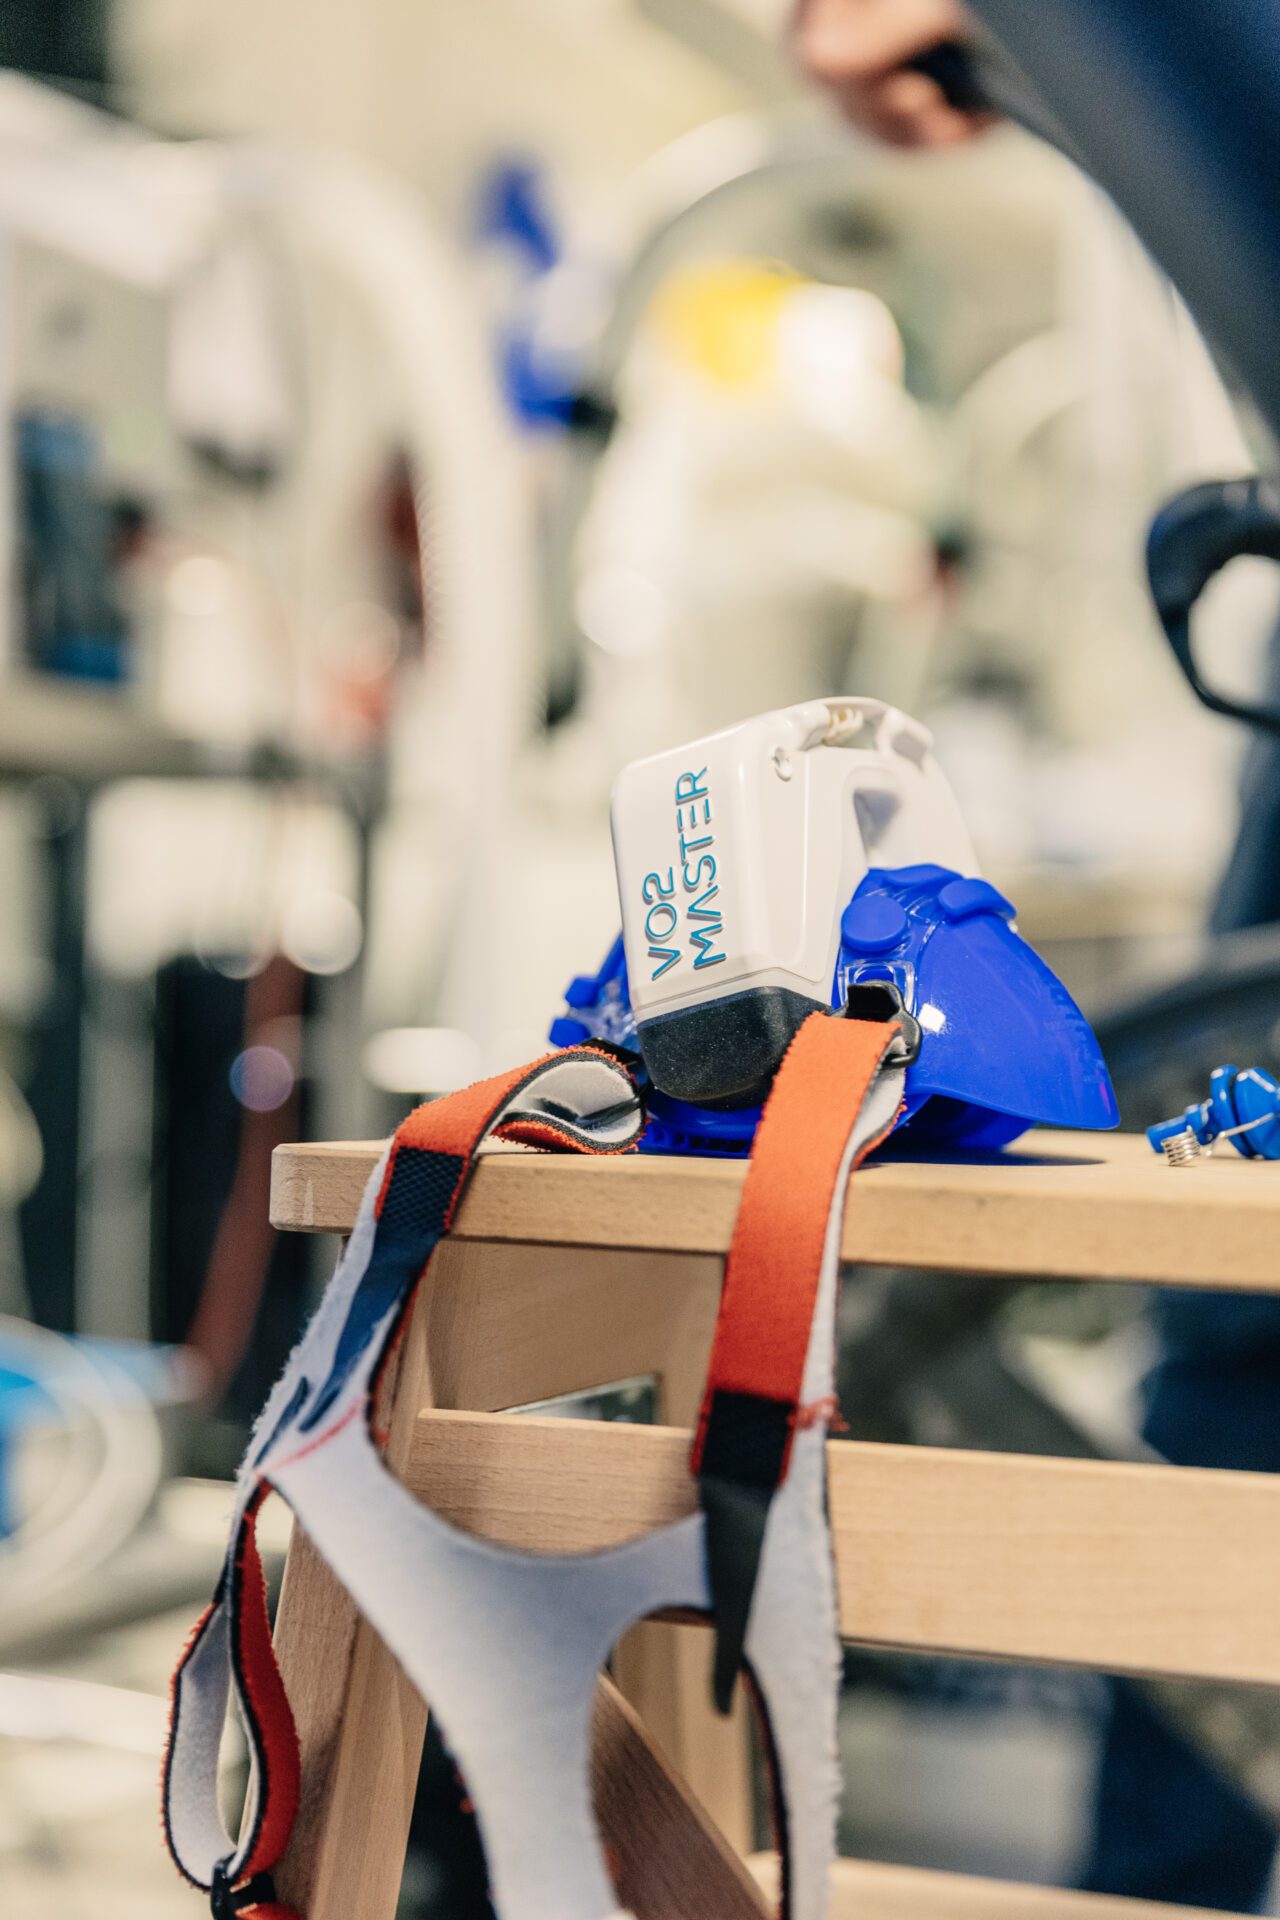
6. Effective Testing for Non-Professional Triathletes
While pro triathletes often have access to high-tech testing equipment, this is less easily available to non-professionals.
But that doesn’t mean you can’t test and optimize your cycling.
You should look to test things like:
- Cockpit heights
- Power-to-velocity ratio
- Straight-line tests in places with consistent conditions
All you need to do these tests is your GPS. In order to make real improvements, it’s essential to look for averages over time rather than a one-off snapshot.
If you’d like to learn more, you can listen to episode 6 in its entirety. You can also find brand-new video content, news, and updates from The Norwegian Method on the VO2 Master blog.