This is the second episode in this series. If you haven’t yet listened to Episode 1, click here to read our five takeaways and listen to the episode in full.
In the second episode of The Norwegian Method Podcast presented by Santara Tech, hosts Dr. David Lipman and coach Olav Aleksander Bu explore the essential aspects of planning during your race season.
This discussion builds on the fundamentals covered in episode one and serves as a primer for upcoming episodes focused on training and racing.
Here are six highlights from Episode 2: Planning in Training.
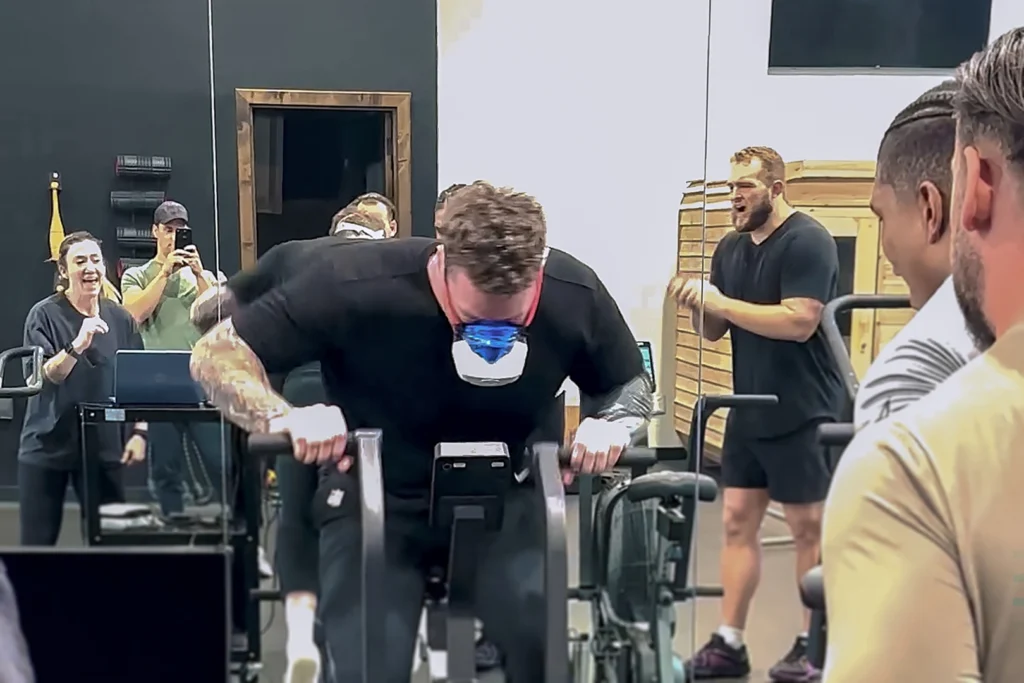
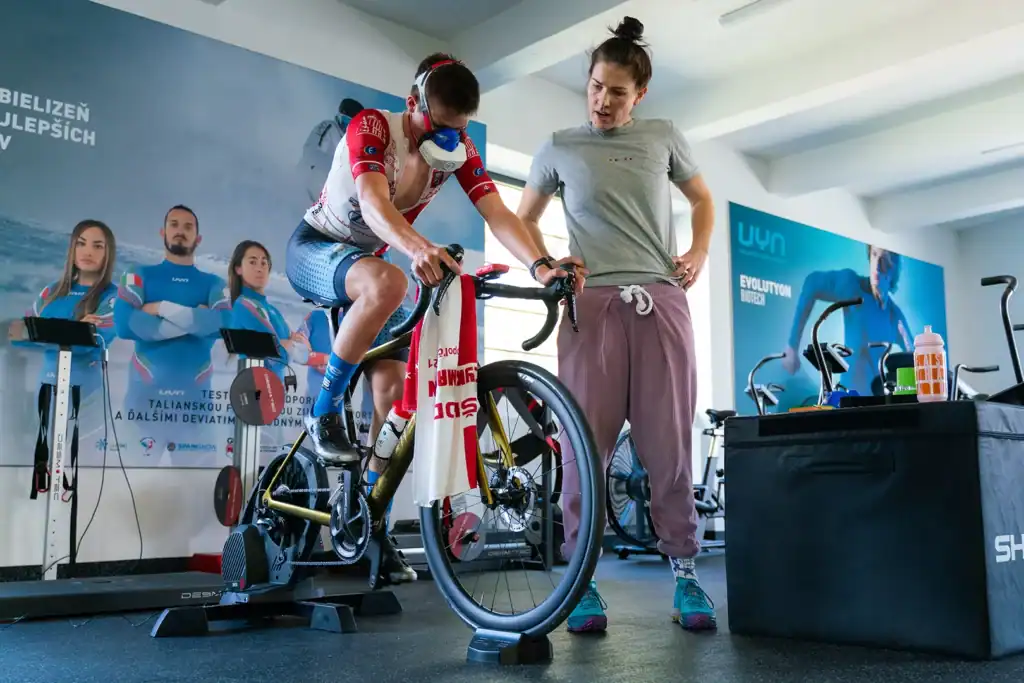
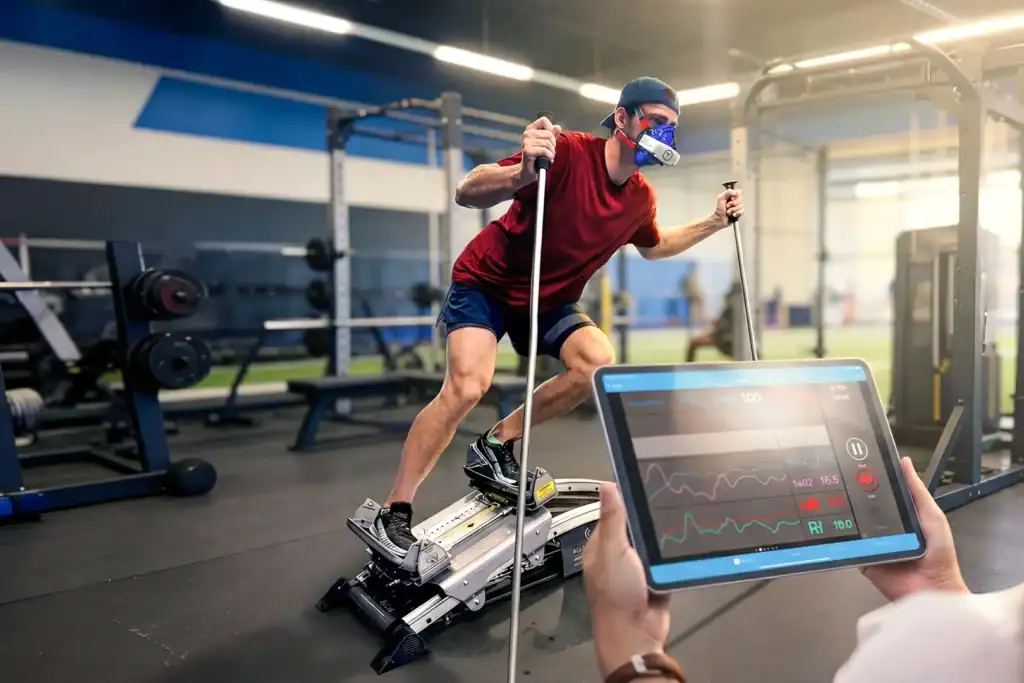
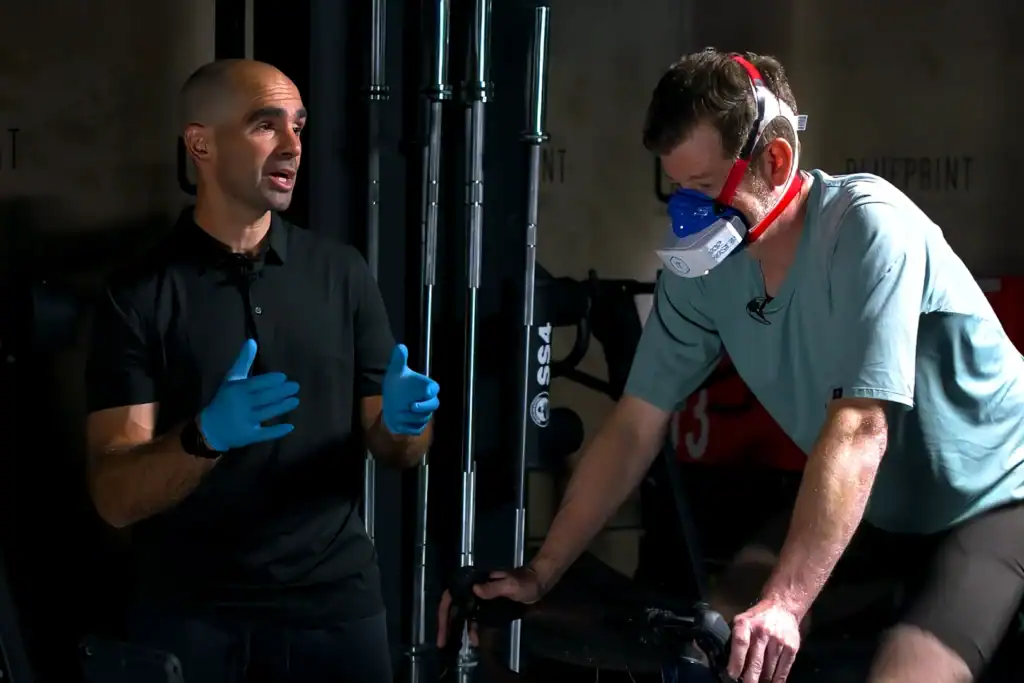
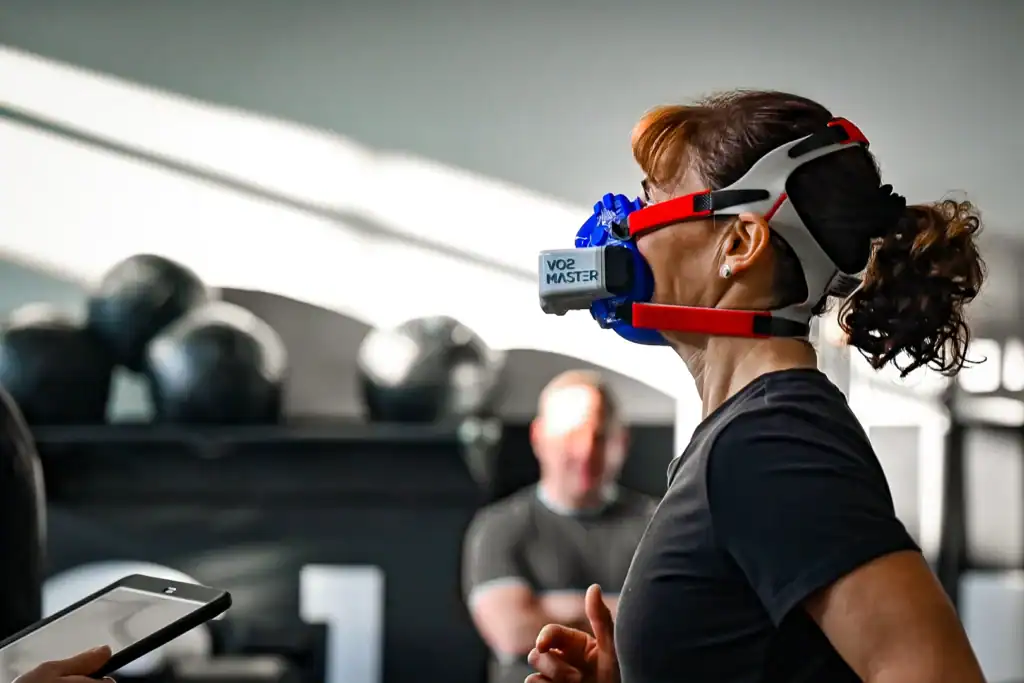
1. The Value of Testing and Creating Athlete Profiles
In the previous episode of The Norwegian Method Podcast, Olav and David discussed the concept of reverse-engineering your goal—understanding what you want to achieve and then working backward to identify gaps that need to be bridged in order to help you reach your goal.
The caveat is that each person has their own constraints, and effective training comes down to your ability to budget your time, energy, and resources and focus on the appropriate areas.
It’s essential to look at your current status and goals:
- Are you climbing the ranks or aiming for podiums?
- Are you training for short-course racing or long-course triathlons?
- Where are you now and where do you want to be?
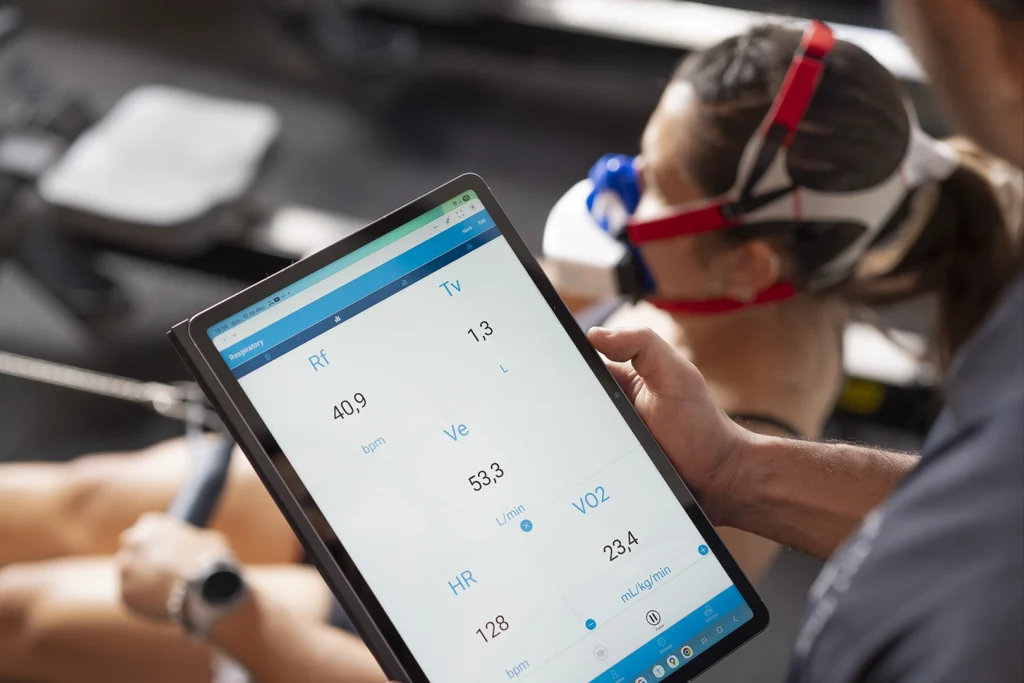
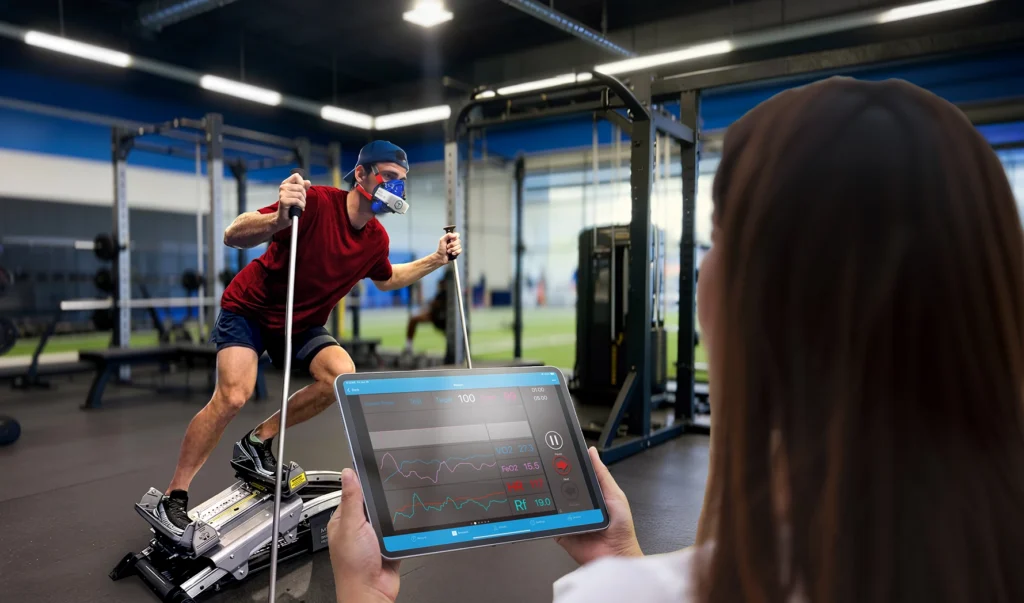
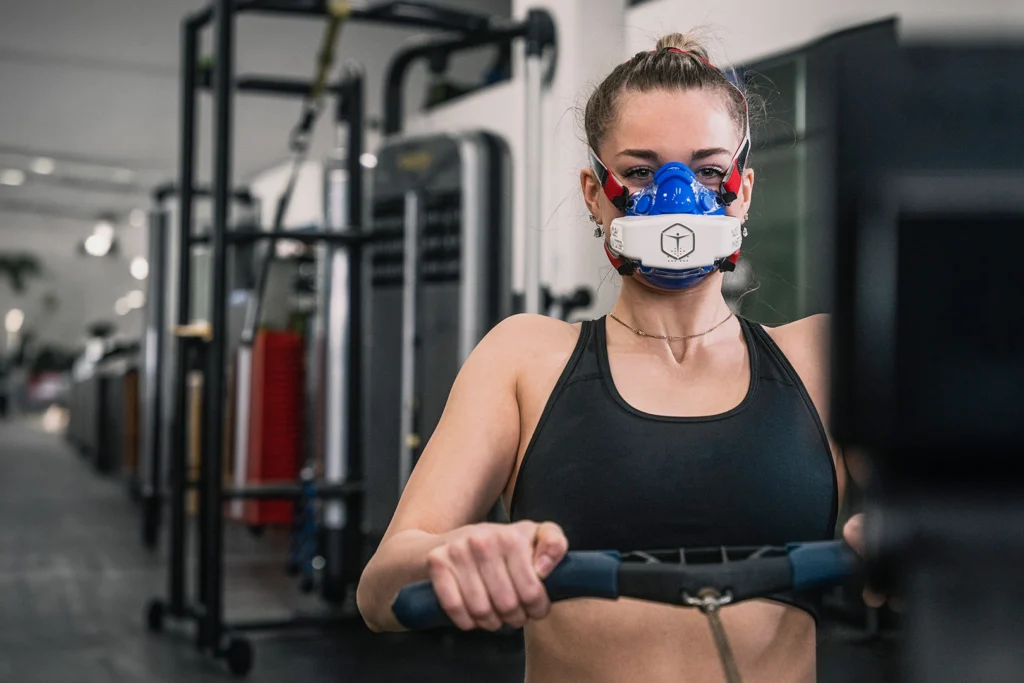
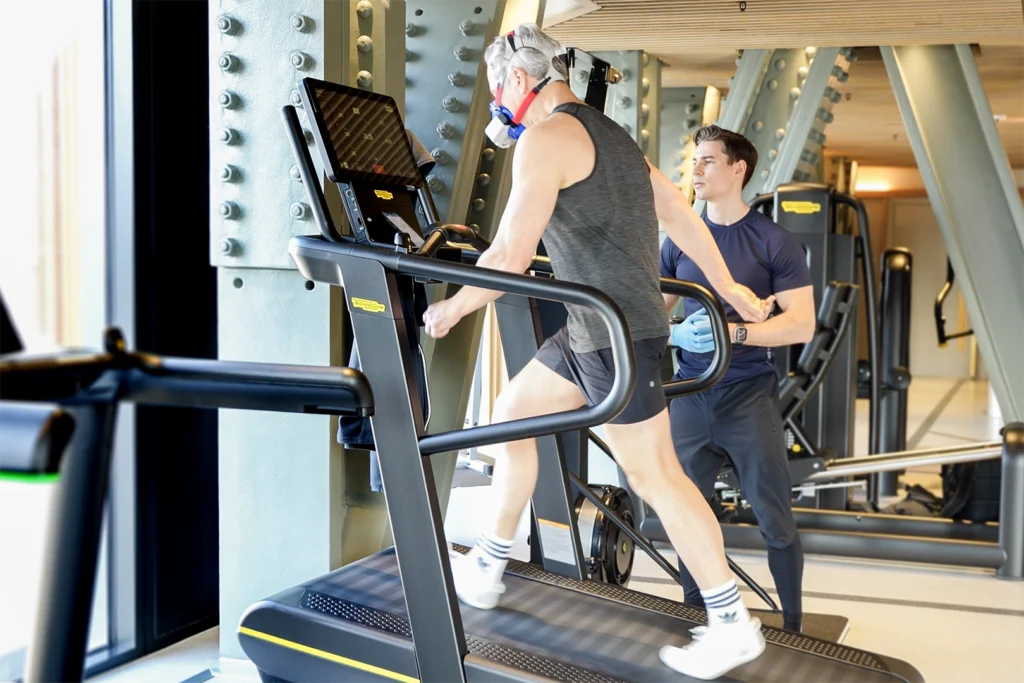
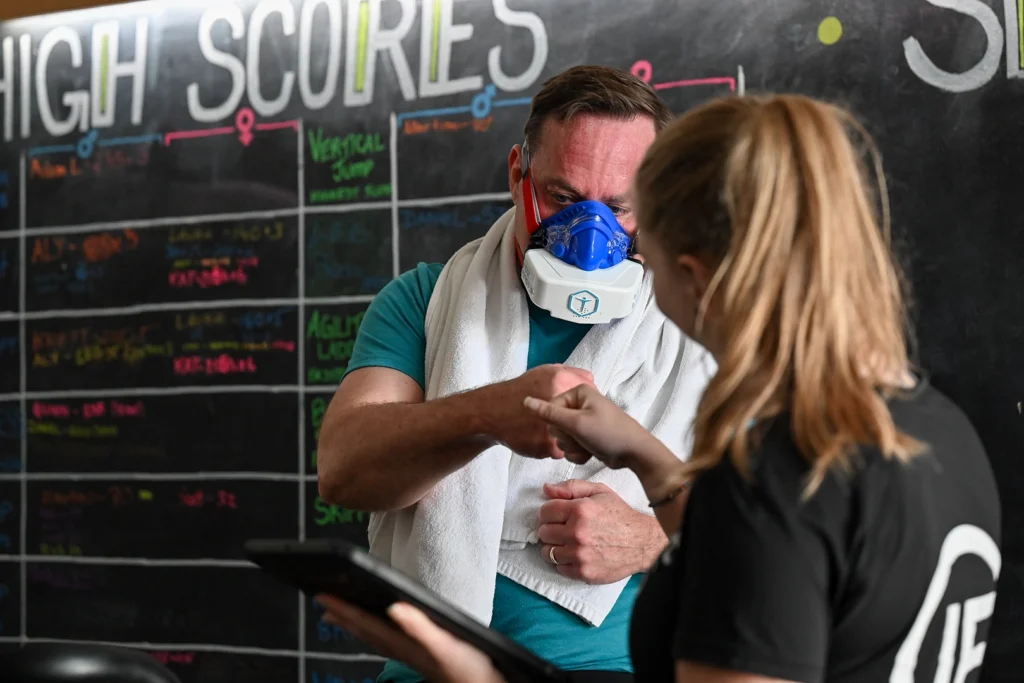
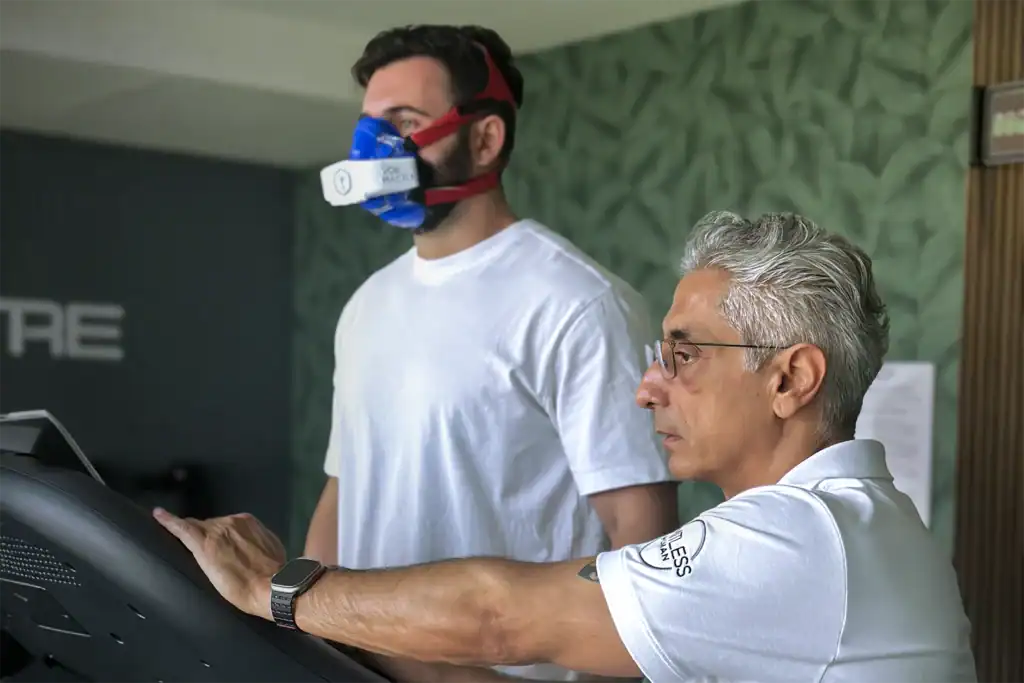
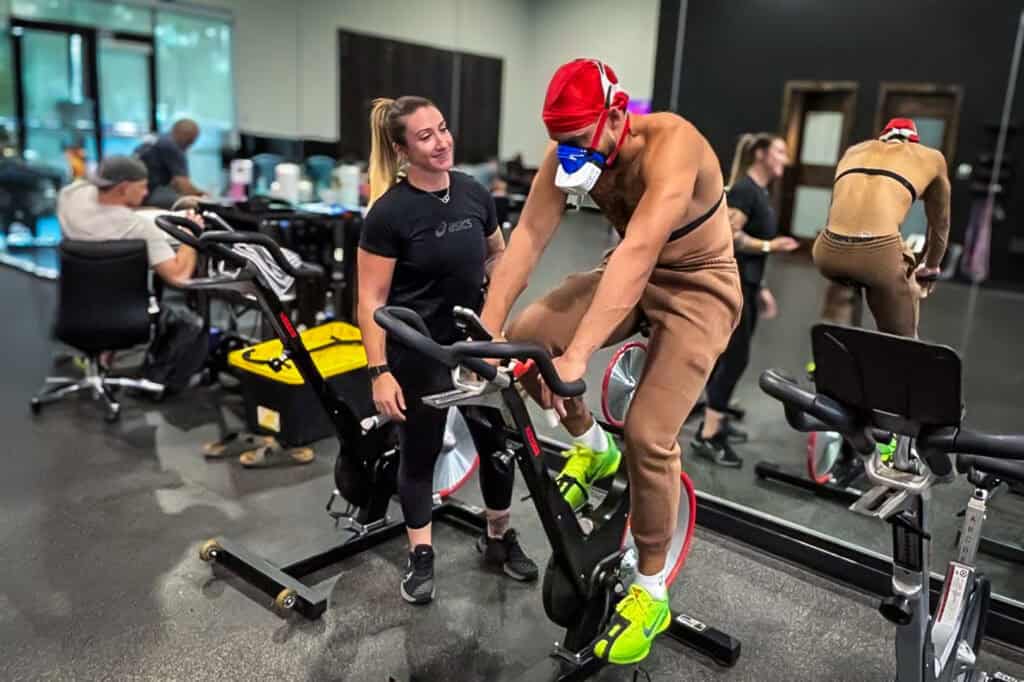
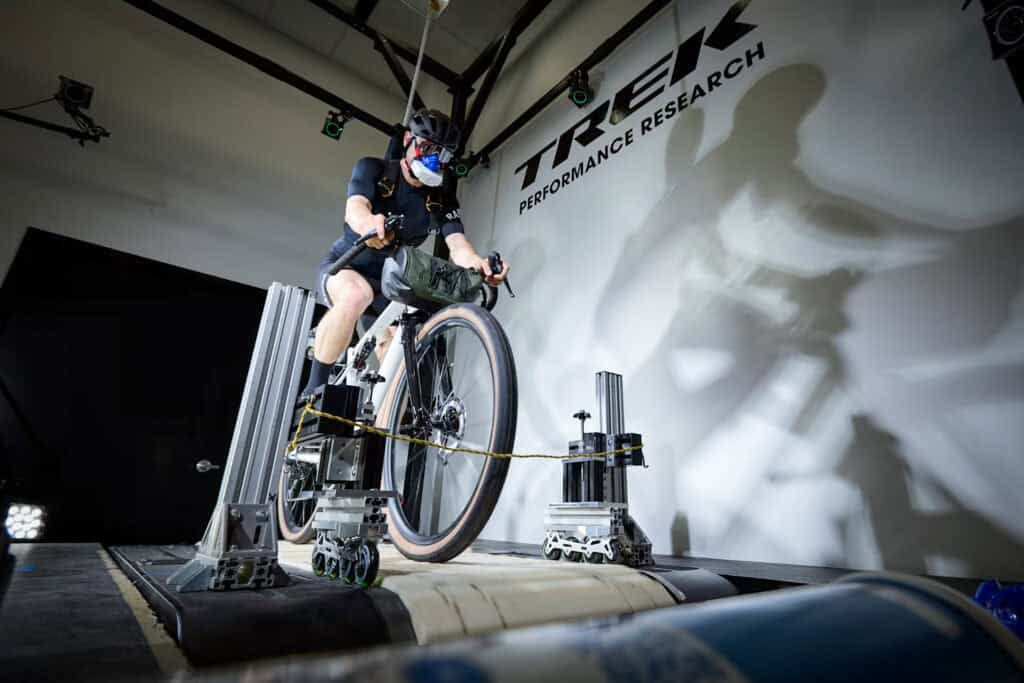
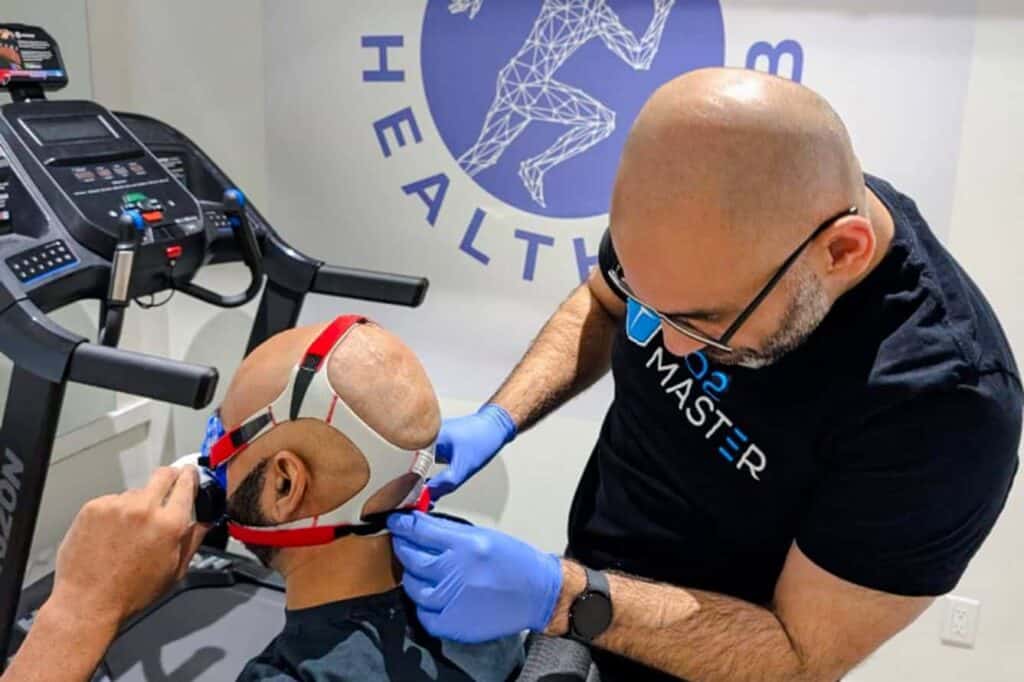
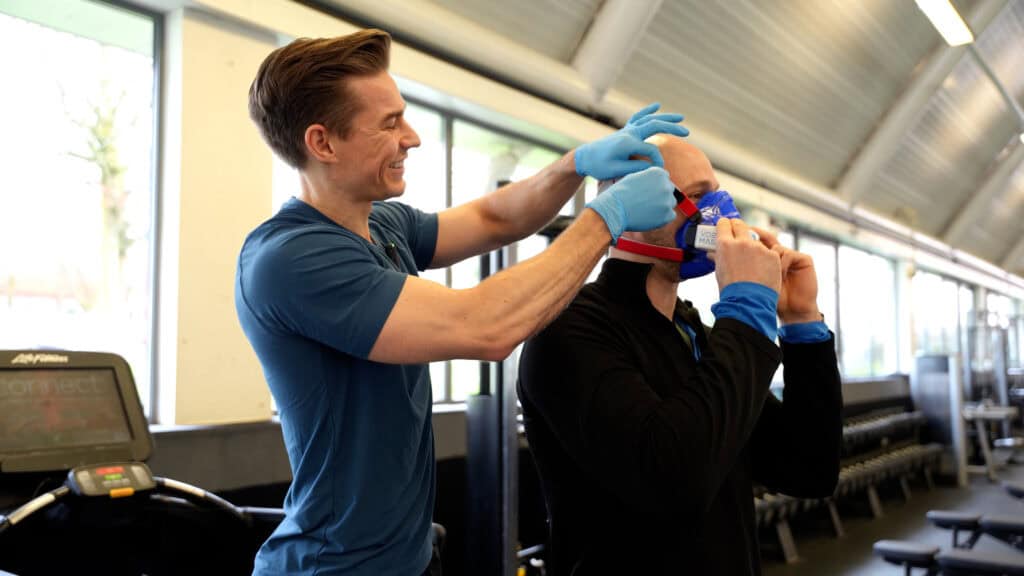
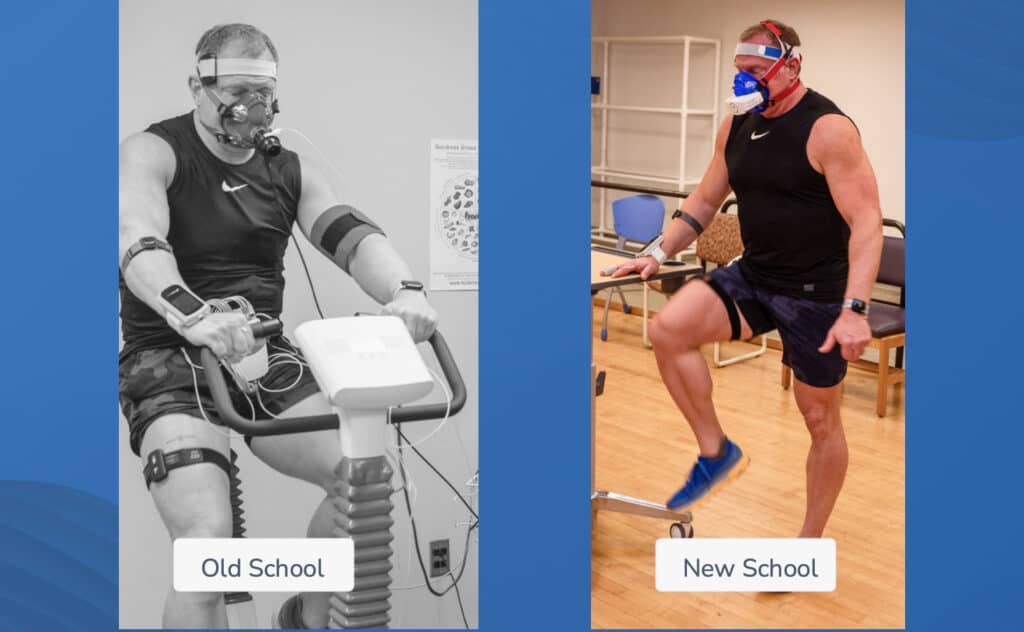
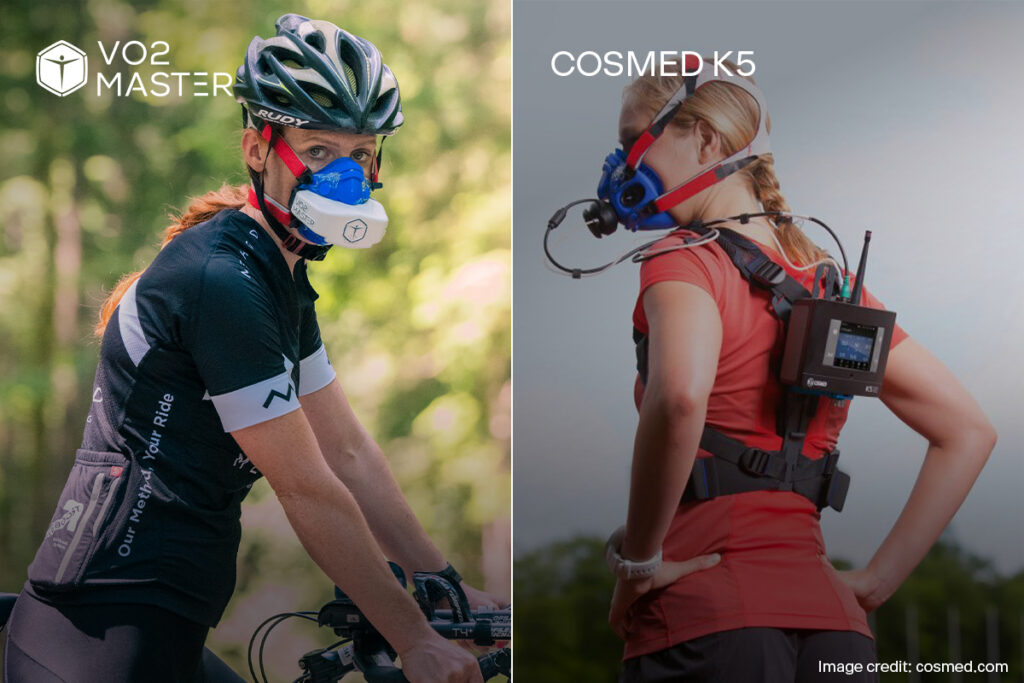
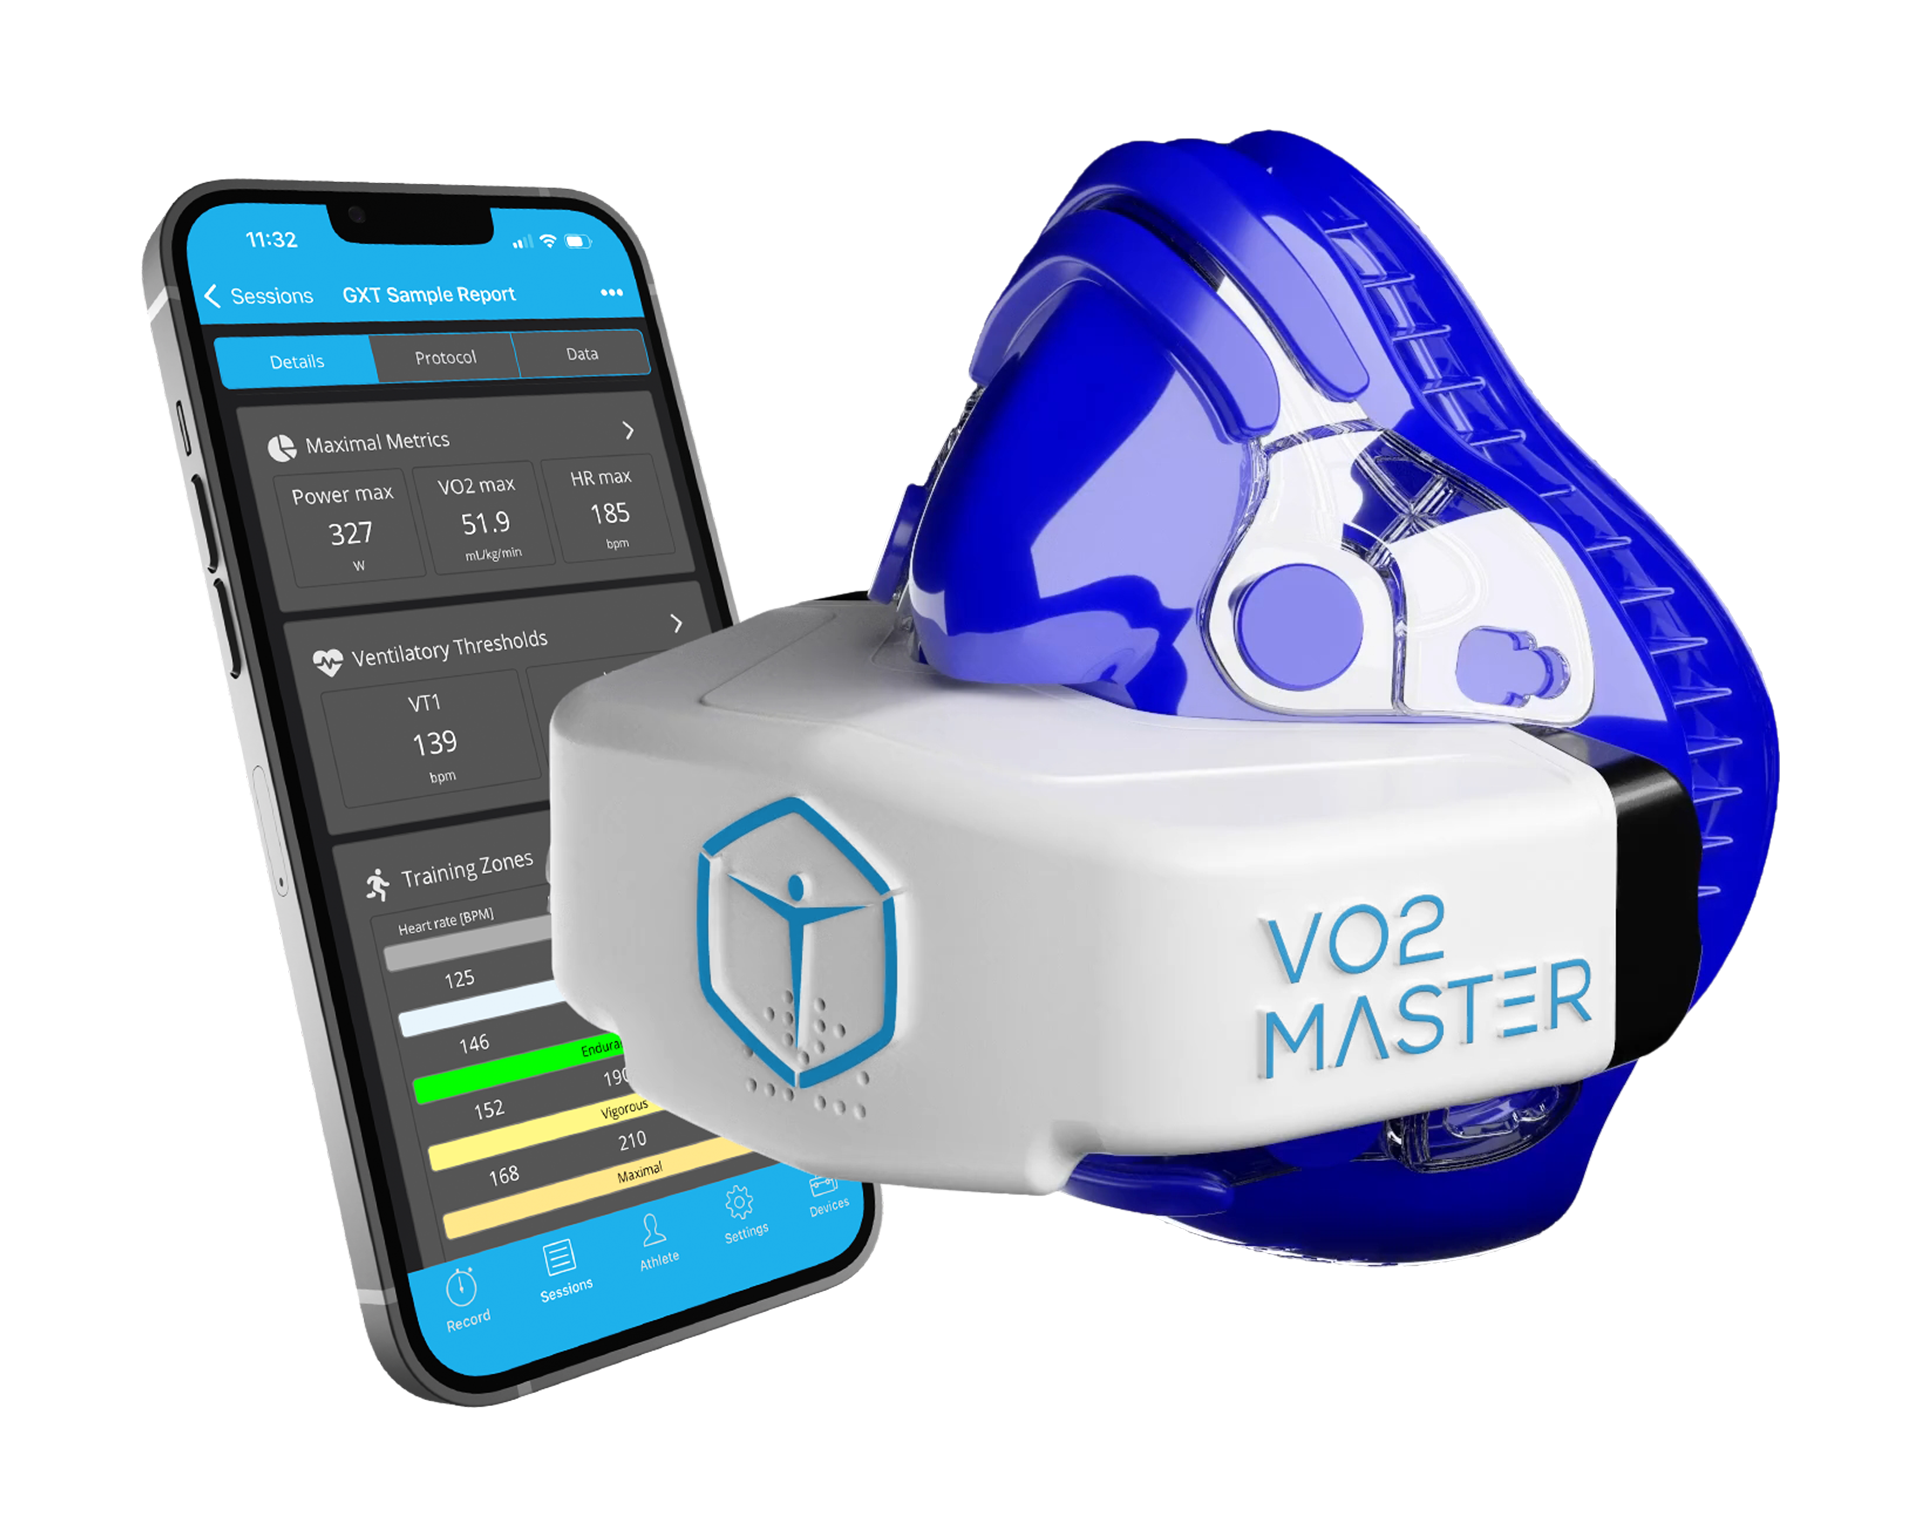
Testing is the key to bridging that gap. It allows you to identify what’s important for you as an athlete and to tailor your training modality by building a profile against which you can measure your progress over time.
This includes metabolic testing as well as mechanical power and velocity profiling.
2. Defining Horizontal vs. Vertical Athlete Profiles
When you look at your athlete profile, you will typically see one of two things:
- Horizontal profiles indicate higher levels of endurance
- Vertical profiles indicate a propensity for shorter output durations
Most triathletes will likely see flatter profiles due to the way in which they typically train for races.
3. How to Structure Your Training Blocks
Most triathlon training is based on “training blocks.” In traditional periodization models, these blocks will include:
- Macrocycles: The distance between one target race to the next (often a year for age group triathletes).
- Smaller cycles: You’ll typically want at least one “warm-up” race in the lead-up to your goal race. The period of time between these races can be considered their own individual cycles.
- Mesocycles: These cycles are generally one-month intervals.
- Microcycles: These cycles generally last about one week.
The purpose of planning your training blocks is to understand:
- Where you started
- Where you are going
- Where you are in that journey
Doing so helps you ensure you’re progressing at the right pace—you do not want to be too far ahead or behind. By defining your training blocks, you can determine how to optimally spend your budget of time, energy, resources, and emotional bandwidth—key elements of successful training.
But as Olav says, “Nature is smart.” You’re not going to get improvements for free.
This is where the Norwegian Method’s Performance Model comes into play—by reverse-engineering your goals and establishing a hierarchy of priorities, you can:
- Identify any gaps in your performance
- Determine where there is the most to be gained
- Understand the timeframe required to make those improvements
Effectively structuring your training blocks allows you to maximize each training session to ensure everything you do contributes to your ultimate goal.

4. Raise the Floor, Raise the Ceiling: Pivoting vs. Denting Your Athlete Profile
The higher your level of training intensity, the shorter your time to exhaustion will be. In order to see true improvements over time, you want to create “dents” in your profile.
In many instances, this comes down to deciding when to “raise the floor” or “raise the ceiling.”
For example, if you want to improve your short-duration power, you need to improve your long-duration capacity as well.
Your 60-minute power cannot be higher than your 30-minute power and your 30-minute power cannot be higher than your five-minute power. If the ratio between them becomes too small, trying to improve your 60-minute power will be very difficult.
So, you sometimes need to “raise your ceiling” to be able to “raise your floor.”
But this can be easier said than done—sometimes when you increase short-duration you might reduce longer-duration power, making it essential to incorporate enough maintenance work throughout your training to avoid regression when you bridge back.
Ideally, your training will be structured so that you divide your efforts between growing the curve and pivoting it. In the growth phase, everything goes up and becomes more powerful, across short, medium, and long distances. Then, closer to your race day, you should start to pivot the curve toward your target for the race.
5. The Pitfalls of Training to Exhaustion
You should try to stay away from training to exhaustion for the vast majority of your sessions—it’s unsustainable and can lead to stagnation.
While it is important to train your pain tolerance, this should be done very sparingly. Ultimately, the reward for training to exhaustion is minimal.
When you train to exhaustion, you run the risk of getting injured. Your goal should be to focus on quality sessions that stack up week over week, month over month, rather than burning yourself out and risking stagnation.
6. The Ideal Cadence for Re-Testing
Olav recommends re-testing every four weeks so that you can prescribe things based on how your athlete curve has changed—this provides you with both feedback and feed-forward mechanisms.
You can make testing a part of your training—for instance, seeing how much your five-minute power has changed since your last test as well as how your five-minute power has changed compared to your ten-minute and 60-minute power.
Ideally, you should aim to test early on in your training to identify your benchmarks and then test frequently to monitor your progress.
If you’d like to learn more, you can listen to episode 2 in its entirety. You can also find brand-new video content, news, and updates from The Norwegian Method on the VO2 Master blog.