Best Practices for Your VO2 Master Analyzer
Here are some best practices to get the highest quality data possible from your VO2 Master Analyzer. The VO2 Master Analyzer is robust and generally works well by simply following the in-app guide when starting a test. Please carefully review the recommendations below as they are intended for those who want to perfect their testingContinue reading "Best Practices for Your VO2 Master Analyzer"
Here are some best practices to get the highest quality data possible from your VO2 Master Analyzer. The VO2 Master Analyzer is robust and generally works well by simply following the in-app guide when starting a test. Please carefully review the recommendations below as they are intended for those who want to perfect their testing protocol.
Please refer to the Quick Start Guide for setup information. Pay special attention to the environmental and session duration constraints on the Specifications page.
Refer to the Product Manual for detailed information.
Zero Calibration
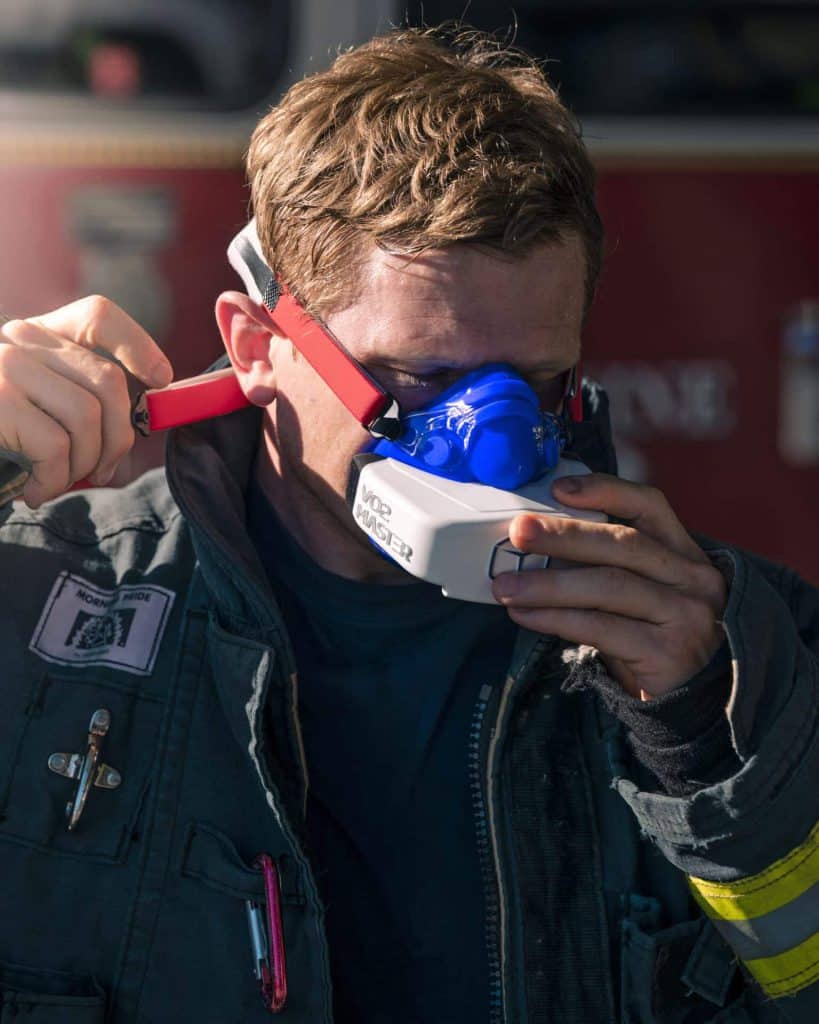
After turning it on, the VO2 Master Analyzer is required to sit undisturbed in absolutely still air for 10 to 45 seconds to perform the automatic zero calibration of the flow sensor. During the zero-calibration, the device status light will be BLUE until complete. Upon completion, the status light will turn WHITE, allowing the user to continue. Ensure no strong wind, overhead fan, or breathing through the device occurs during this period as this will disallow the analyzer from completing. The analyzer will remain inoperable until this calibration is complete.
Syringe Calibration
Syringe calibration is completely optional, but doubles the accuracy of your analyzer. This calibrates the flow sensor and normalizes for any change in the device or filter discs over time. We recommend syringe-calibrating before every test, or at minimum every time you replace the filter or user piece. Perform a 3L flow calibration if you are using the Medium (M), or Large (L) user pieces. Perform a 1L flow calibration if you are using the Resting (R) user piece.
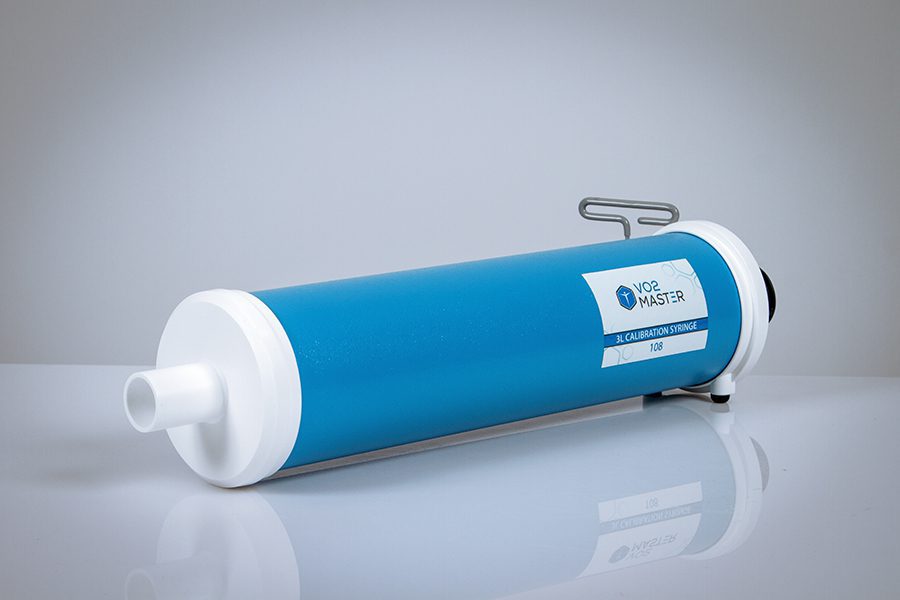
3L Syringe Calibration
Use the Alan key located on the syringe to adjust the lock collar to the 3L position. Check out the Quick Start Guide for a visual of this. Attach your analyzer to the syringe using the flexible tube, grey adapter piece, and silicone attachment. The analyzer should be upside-down with the lettering reading upside down and the breathing port pointing upwards. The silicone adapter piece should be the only part of the analyzer touching the table. Ensure you have already installed the user piece and filter. Depress the syringe such that it starts with the pump arm fully inserted. Hit Begin in-app on the Syringe calibration view of Record Start Up. Follow the in-app metronome and visual timing bar while pumping smoothly from end to end. Avoid hitting the end stops of the syringe with force.
1L Syringe Calibration
Use the Alan key located on the syringe to adjust the lock collar to the 1L position. Follow the same instructions as 3L above. The metronome and timing bar for this mode is slower. Be careful to not pump too much volume. The RMR user piece is meant to measure gentle breathing and pumping the syringe should reflect that.
Gas Calibration
We recommend completing gas calibration using the 3L Calibration Syringe. After completing the above syringe calibration, leave the analyzer on the syringe and continue pumping at a similar rhythm until gas calibration completes. During gas calibration the exact volume of each breath is unimportant, so you may choose to not quite hit the end stops of the syringe. Gas calibration will take approximately 1 minute for the Medium (M) and Large (L) user pieces, and 2 minutes for the Resting (R), no matter how quickly you pump the syringe.
Note: For best results, we recommend inputting a 15-minute warm-up into your protocol. At minute 12, go into the left-most view of the Record tab, tap “More Info” with the settings icon, then tap “Re-Calibrate Now” next to “Manual O2 Calibration”. This re-starts gas calibration in the background, and should be done with the analyzer on the user’s face, to compensate for any heating caused by exhalations. Rapid temperature changes can induce some measurement error that this method mitigates.
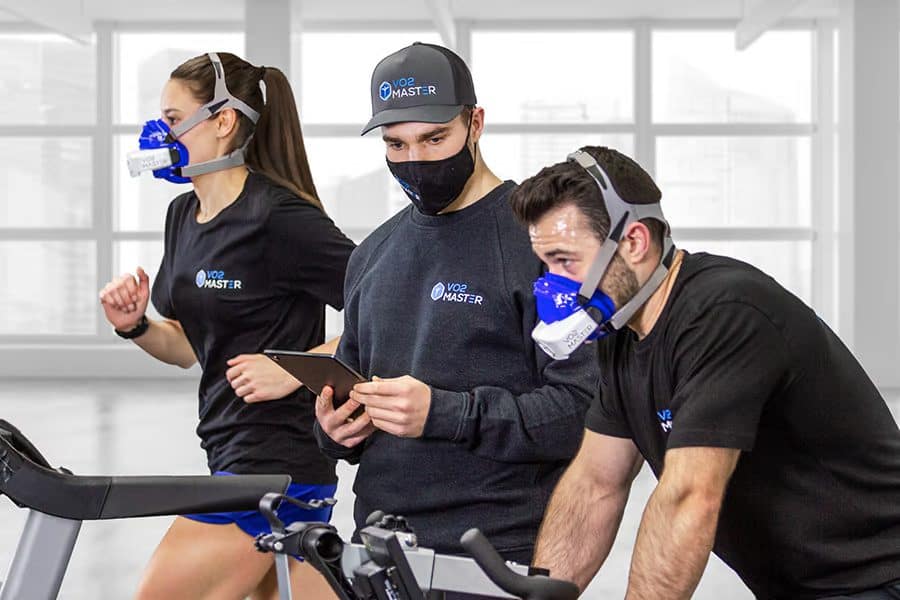
During an Assessment
Avoid placing a fan pointing directly at the face of an athlete wearing VO2 Master. Strong, jetting wind can cause measurement error. The worst possible placement for a fan is on the ground, pointing up towards the face. We recommend placing the fan to the side, or at the rear pointing forwards.
Ensure the testing environment is stable with an ambient temperature of at least 17 degrees Celsius/63 degrees Fahrenheit (ideally 22 degrees Celsius/73 degrees Fahrenheit or higher), and is dry (ideally 40-50% RH). Avoid rapid temperature changes between calibration and recording. If a rapid temperature change of 5 degrees Celsius/41 degrees Fahrenheit or more occurs, allow the analyzer to acclimatize for 30 minutes then redo the Gas Calibration for best results.
Cleaning your VO2 Master Analyzer (Post-Assessment)
Follow all the instructions in the Maintenance section of the Product Manual linked above. When wiping the VO2 Master Analyzer dry, avoid pushing any liquid water towards the two sample ports behind the filter. If you notice liquid water has entered the sample ports, replace the Desiccant Cartridge. Contact us for instructions.
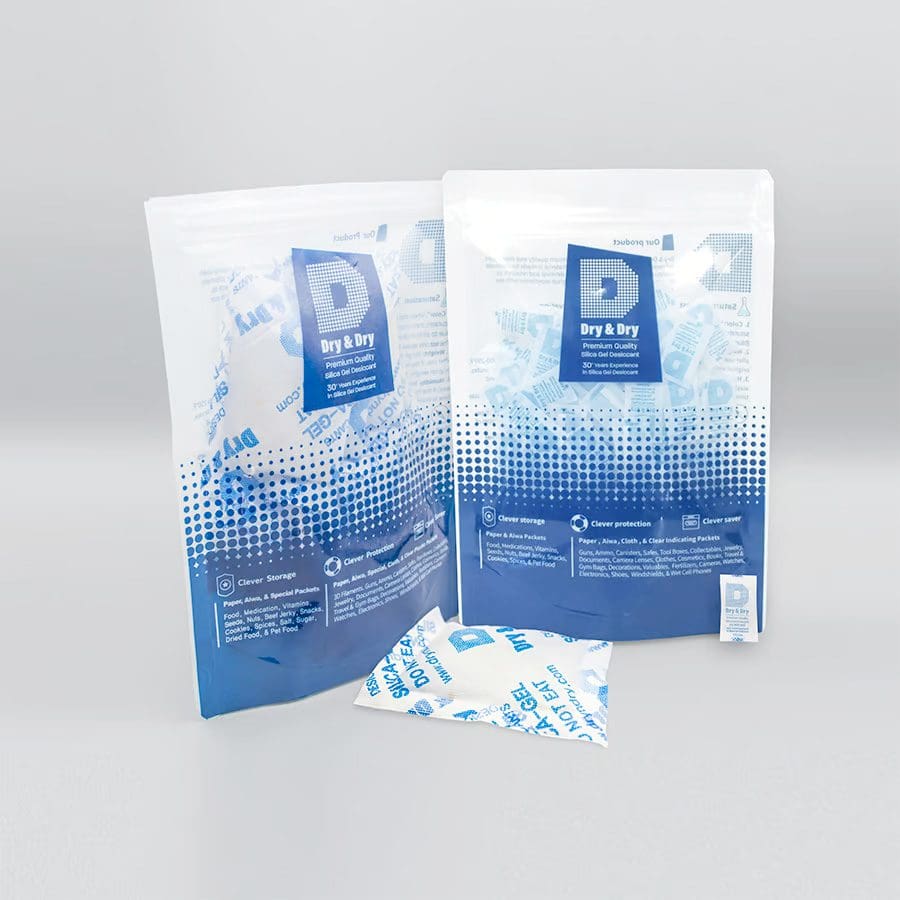
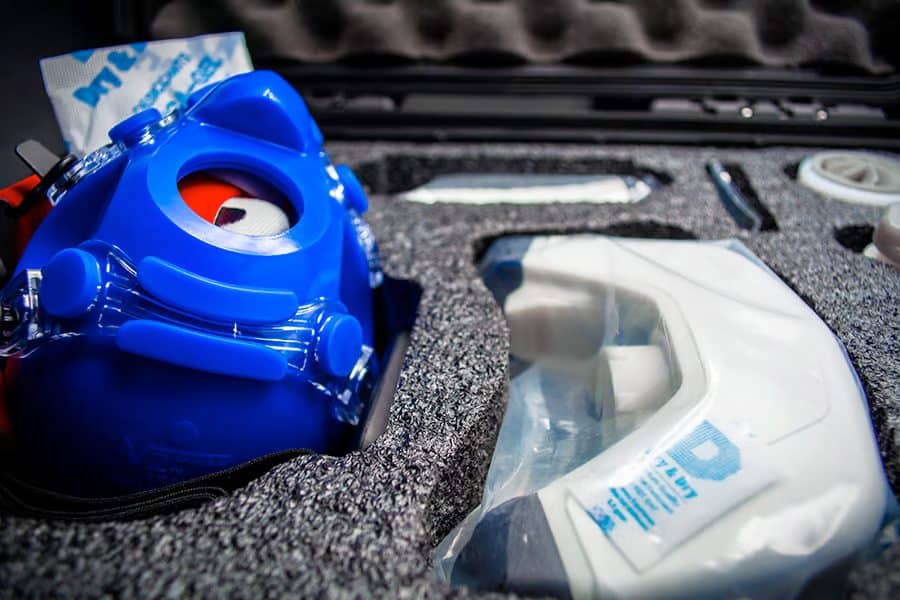
Proper VO2 Master Analyzer Storage
To ensure long-term use and device accuracy, When the analyzer is clean, dry, and not in use, we highly recommend during storage that the analyzer be placed in a sealable plastic bag with an active 0.5g desiccant packet. We also recommend that an active 20g desiccant packet be placed under the facemask with the head strap to reduce any additional moisture.
Reconditioning Procedure
This method can be used in an attempt to re-establish proper device function and accuracy if your analyzer is reading higher than known or expected humidity values caused by a water ingress event, where liquid water has entered the desiccant cartridge.
The 24-hour reconditioning procedure consists of placing only your analyzer and an active 20g desiccant pack in a sealable plastic bag for a period of 24 hours. Only perform the 24-hour reconditioning procedure when you are instructed to by the VO2 Master Technical Support Team.
NOTE: Only store the 20g desiccant packet in a sealable plastic bag with the analyzer during a 24-hour reconditioning procedure as storing your analyzer for prolonged periods of time with a 20g desiccant packet may cause damage the oxygen sensor.

Please refer to the VT Detection Guide for detailed information about Ventilatory Thresholds (VT1/VT2) and the Best Practices for Automatic VT Detection.
Please contact us should you have any questions, comments, or concerns.